
CHRISSY CRAFT: DIY DINNER PLATES & WRAPPING

Creating Christmas cheer and joy is top of our to-do list this festive season so we’ve thrown tradition to the wind and are embracing bright colours and bold patterns for styling this festive season.
We love a quick and easy Christmas hack to keep the budget down and the wow factor up and the DIY dinner plate and prezzie paper we crafted for our Three Birds Christmas are too simple not to share.
Grab your girlfriends (or kids!), pull out your paints and settle in for a crafternoon of DIY Christmas craft fun.
Enjoy! Love, your Christmas Cheer-leaders, Bonnie, Erin and Lana xxx
DIY DINNER PLATES
Don’t worry if you don’t consider yourself a crafty crafter, this is so easy that even your kids can do it - and we’re sure they’d love to!

YOU’LL NEED:
Porcelain or ceramic plates (we got ours from IKEA)
Food safe ceramic paints (make sure they’re non-toxic, we used these ones.)
Paint brushes
An oven
HOW TO:
Wash & dry your plates
Plan your designs on paper. You can go as safe or as crazy as you choose - we mixed up checks, spots, stripes and curved lines for ours.
Get painting, baby!
Once you’re done, allow your designs to dry, as per the paint instructions,
When fully dry, we baked our plates in the oven to seal the deal and make them permanent. To do this, pop the plates in a cold oven (to avoid cracking). Spread them out then heat the oven to 180 degrees Celsius (350 Fahrenheit) and leave them in there for 35 minutes.
Allow to cool and then get busy decorating your Chrissy dinner table.


DIY PREZZIE PAPER
It’s just like the personalised paper your kids used to make at pre-school… just with a bit more planning and fewer fingerprints.
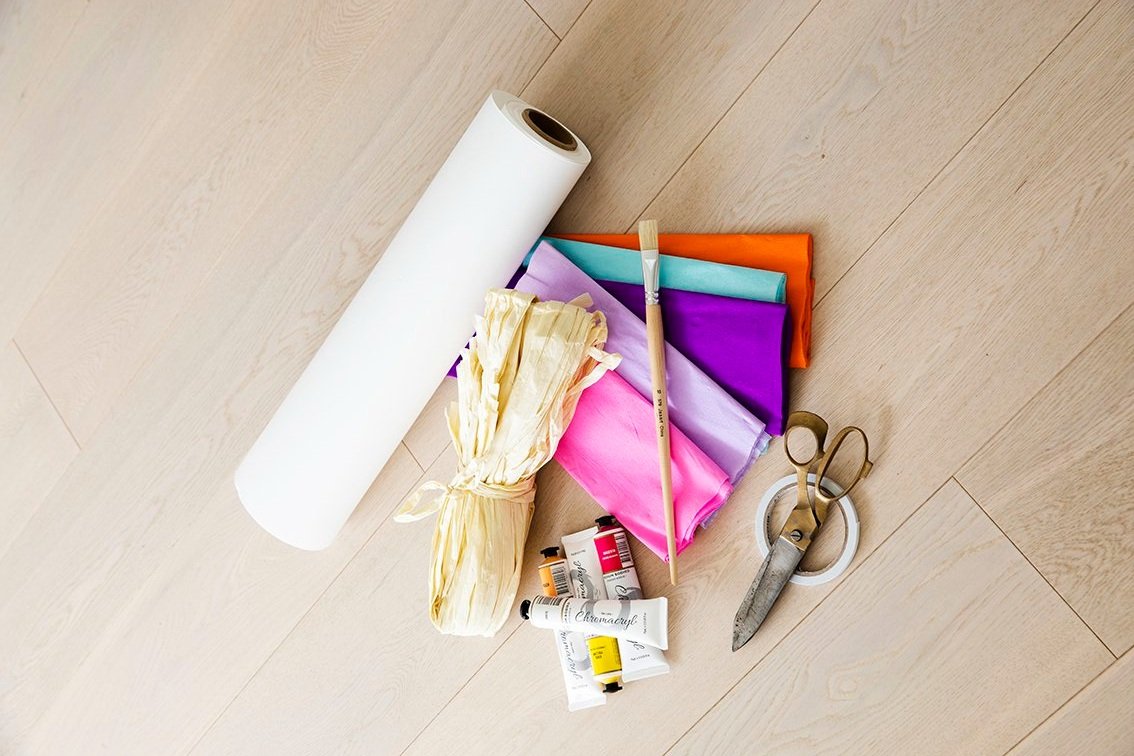
YOU’LL NEED:
A roll of kraft paper (we used white but brown is fine for a more natural look)
Acrylic paints (make sure they’re acrylic so they don’t rub off or peel before the big day!)
Paint brushes
Scissors
Crepe Paper (assorted colours)
Raffia
HOW TO:
First up, cut your kraft paper to size.
Plan your patterns, designs and colours. You can use a pencil to lightly sketch out your designs on the kraft before painting if you wish.
Start painting!
Leave your wrap to dry thoroughly.
Choose who’s been naughty and nice and get (w)rapping! #canttouchthis
We used coloured crepe paper and raffia to add the finishing touches to our presents.


