A RENO SCHOOL ROOSTER STRUTS HIS STUFF WITH FIRST FLIP

If you ever thought Three Birds Reno School was just for chicks, think again! We have some fabulous roosters in our flock and Victor Stassinis is one who’s been strutting his stuff with his very first renovation, a house flip in Frankston, Victoria, just completed and sold.

Victor’s a full-time Real Estate agent and, along with his fiancée Christina, a first-time house flipper. Victor told us all about how their first project turned from new builds to renovation and how Three Birds Reno School helped them transform a derelict cottage.
YOU SET OUT TO DETONATE, NOT RENOVATE! TELL US HOW THIS CUTE CHARACTER COTTAGE RENO CAME ABOUT…
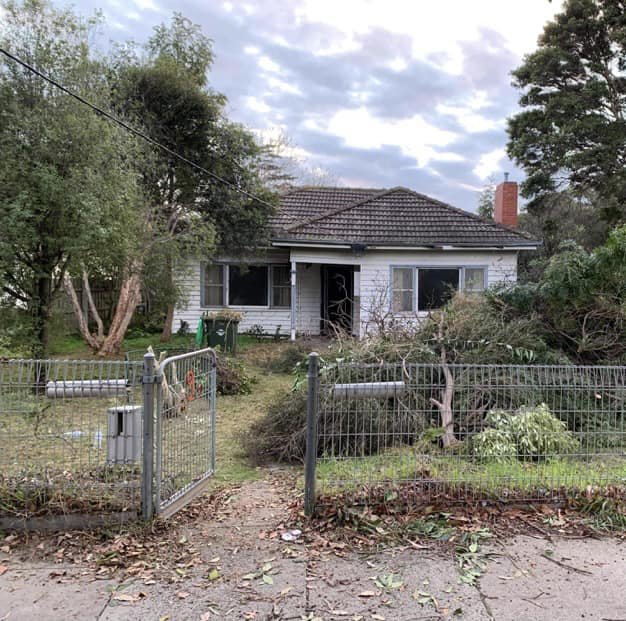
The property was initially purchased with the intention of a multi-residential development. The site is an 840sqm corner block with an original 1950’s weatherboard that was in VERY bad shape. Initially, the idea was to knock it down and build 4 new townhouses, however after enquiring with Council and talking to multiple architects, the general feedback was that we would only get three dwellings on the block. This is when the idea of flipping the original dwelling came into it.

THE ORIGINAL COTTAGE & THE COUPLE’S PLANNED MULTI-RESIDENTIAL DEVELOPMENT
It not only meant that we didn’t need to fund the cost of an entire new build, but it meant that we could bring the original cottage back to life and restore its original character. A local architect/draftsman designed plans for an extension to the original dwelling in addition to two new townhouses at the rear of the block, all of which got approved by Council.
However, once Covid hit and construction costs began to rise, the cost of a small extension (3rd bedroom and 2nd bathroom) didn’t add up financially when it came to the resale side of things so we decided to keep the VERY limited amount of space we had (approx. 9 – 10 squares in total) and get creative with the design.
Whilst we were flipping the house, we also decided to subdivide the land (without yet building at the rear) which created extra difficulties throughout the flip. A new carport/driveway/crossover, water tank to service the toilet, new fence lines, shed etc. all needed to be created/completed in order to meet Council’s requirements for the subdivision.
TELL US ABOUT THE RENOVATION?
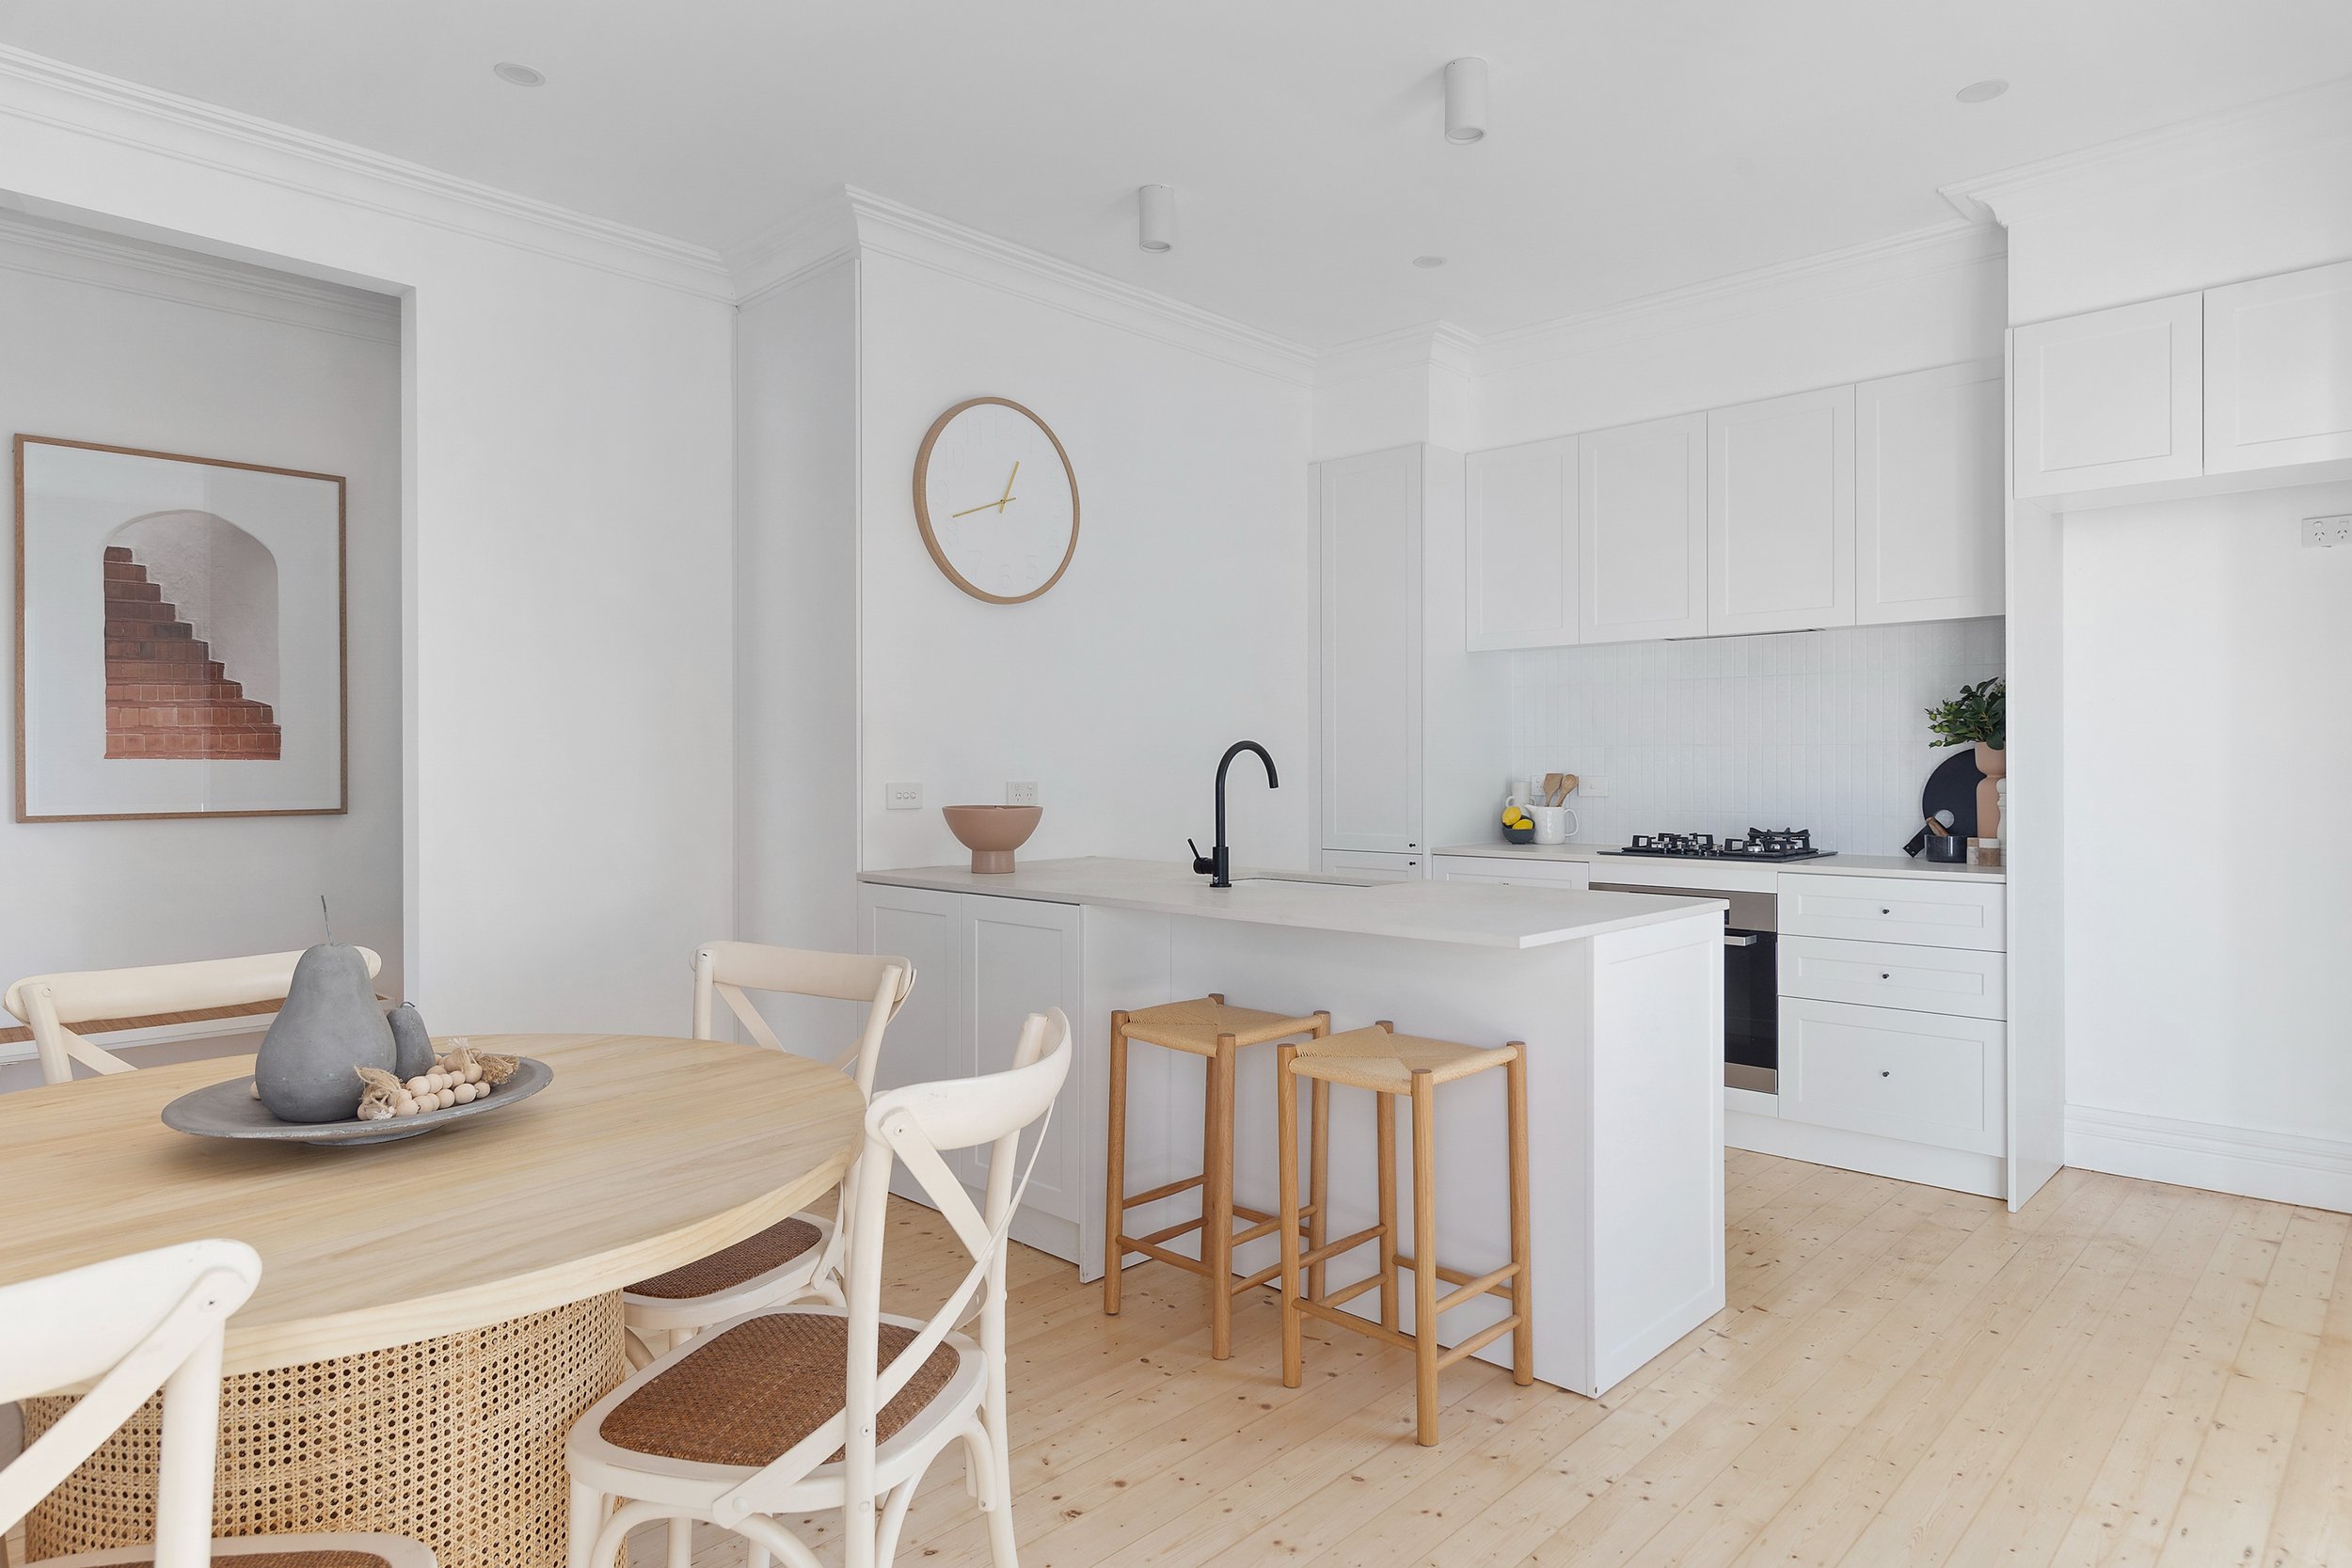
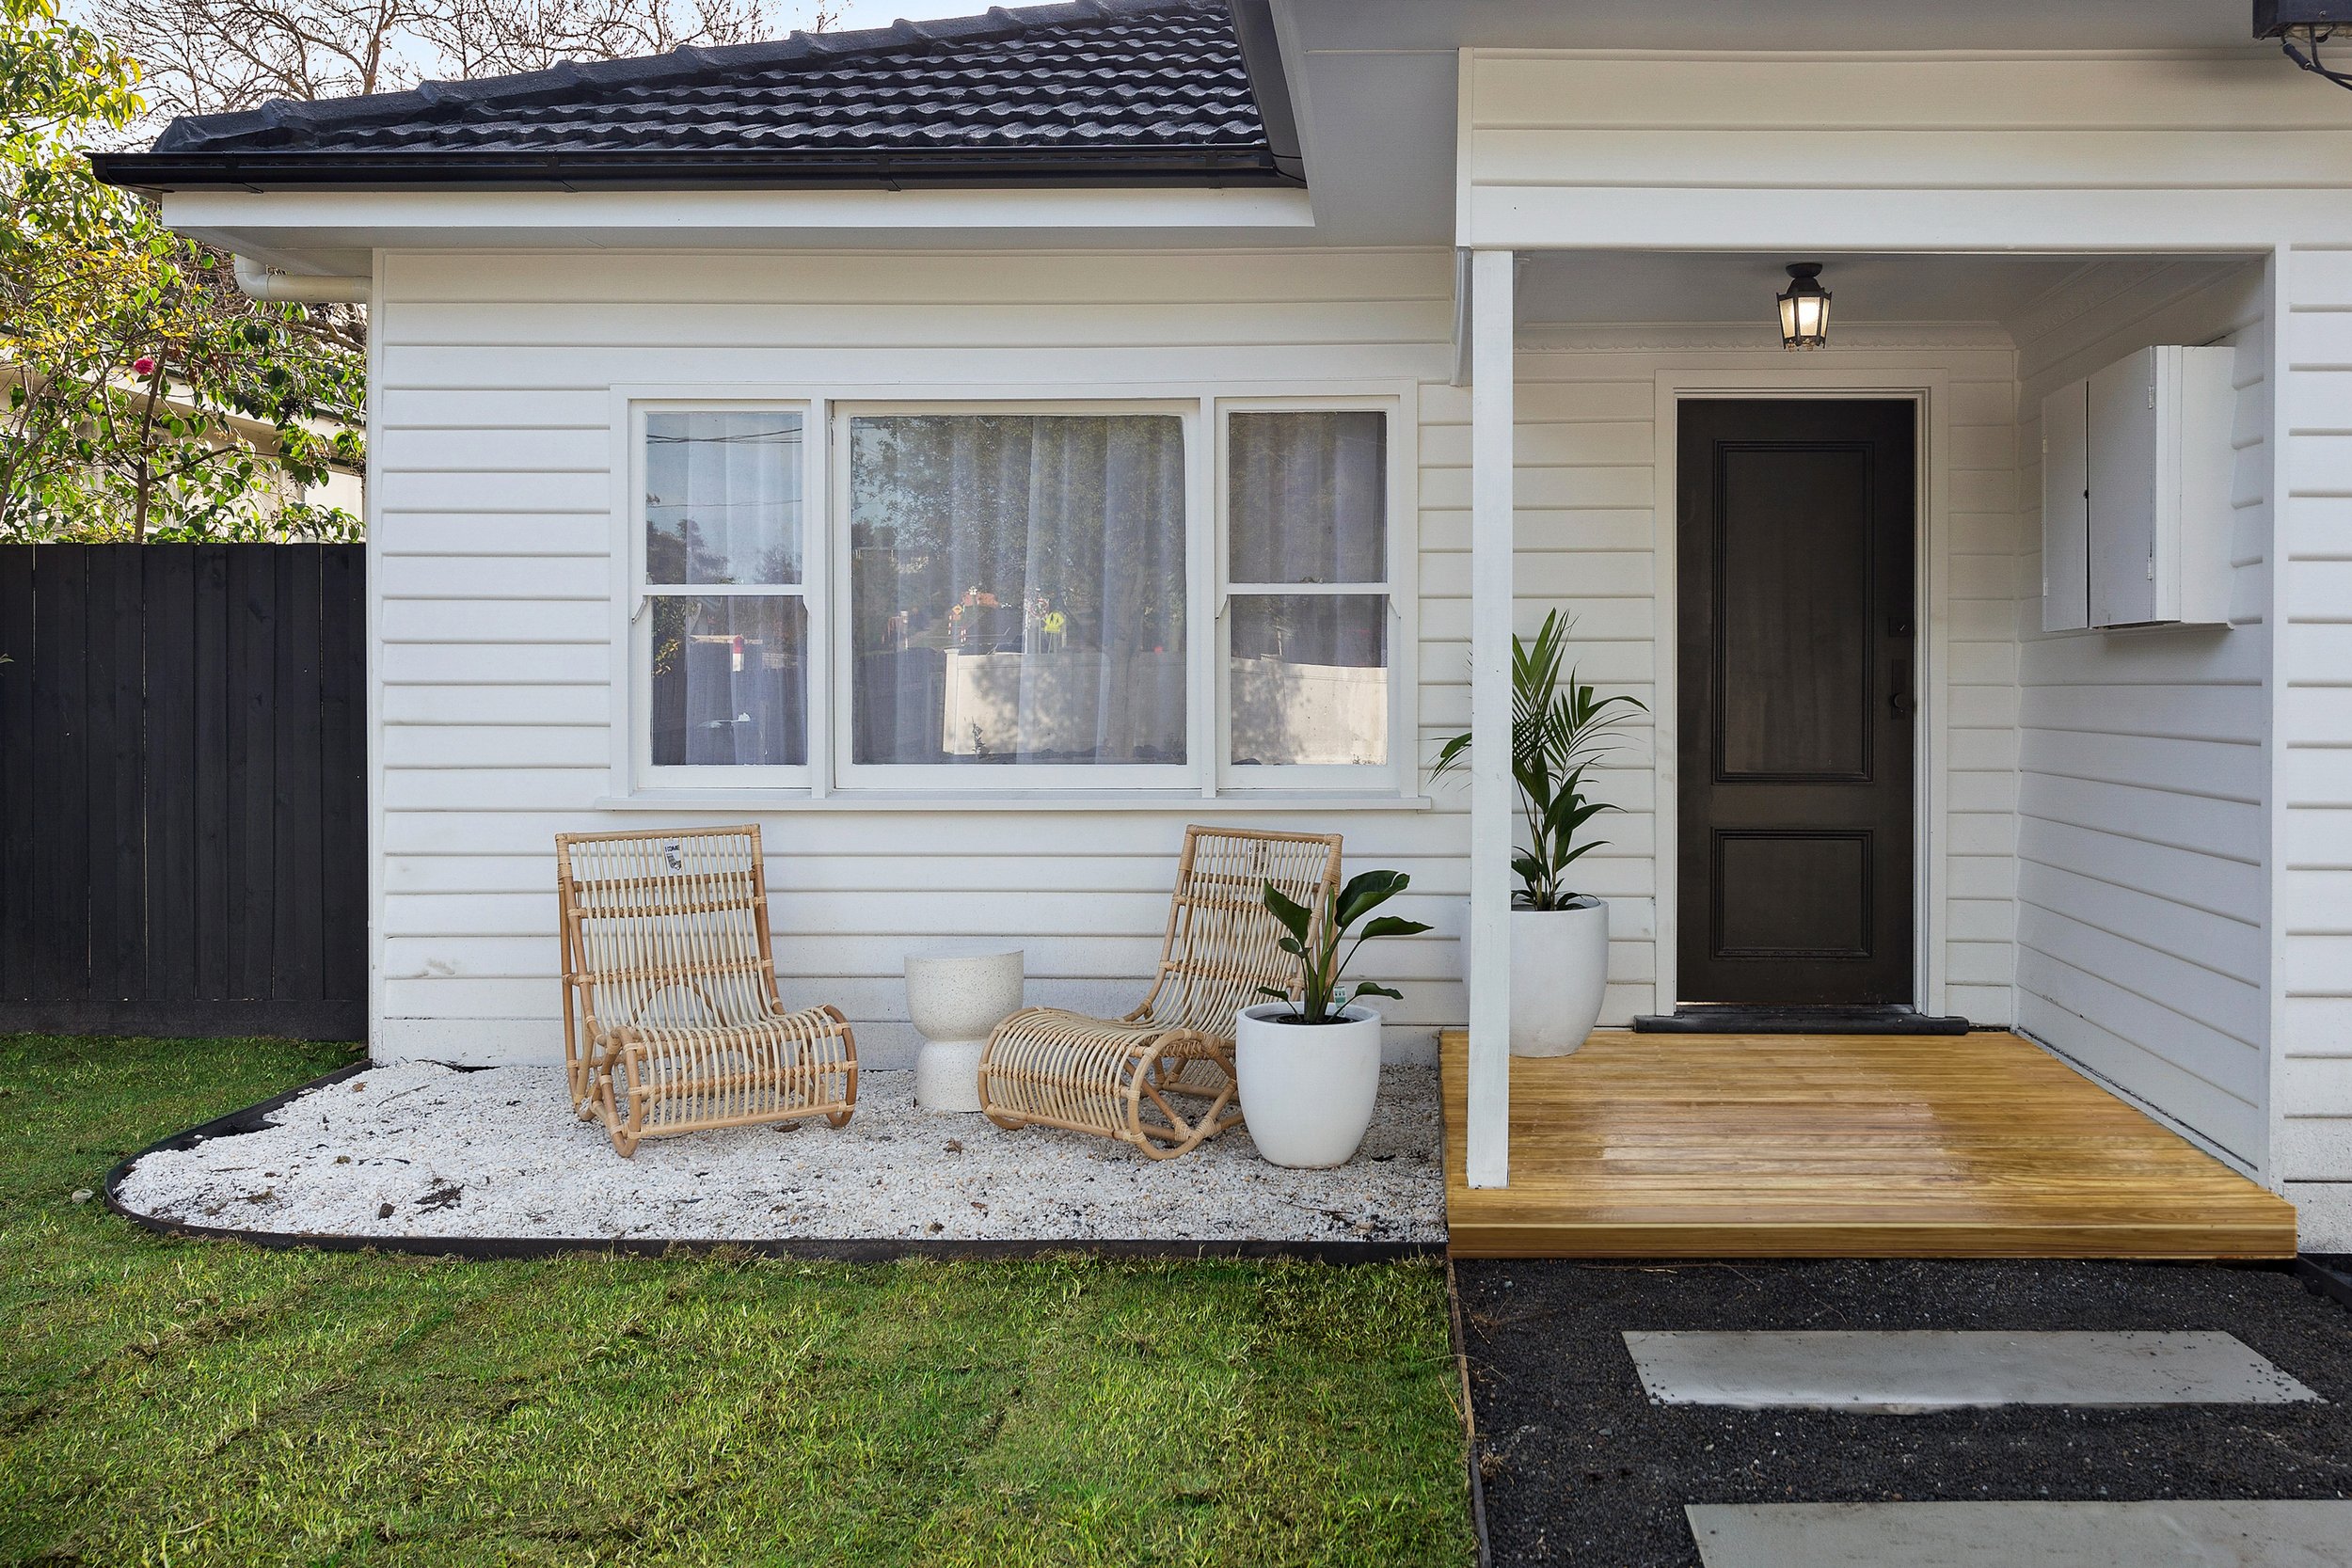
The goal was to create a light and bright coastal cottage. Due to the limited amount of space, we had, a lot of research was conducted regarding practical ideas that not only looked beautiful in design but were functional for everyday living. Examples of this were:
Laundry cupboard/vanity in the bathroom that was designed on a 1.8m wall. It included an aluminium mesh cupboard (for condensation) and a vanity with storage, as well as a pull-out washing basket.
Linen closet next to the kitchen that was designed to be seamless (and not noticeable). This was achieved by going floor to ceiling and having the door cover the wall next to it. To achieve the overall feel we wanted, we needed to knock down and move multiple walls as well as adding multiple sets of French doors.
From a design perspective, we knew we wanted everything white and came across Dulux Lexicon Quarter (thanks to suggestions on the Reno school Facebook page)!
Functional layout - 2 bedrooms, 1 bathroom/laundry combo, living/kitchen/dining, carport
Although we decided to use a builder for certain elements of the flip such as knocking down walls, completing the bathroom etc., we also took on a lot of work throughout the project. We worked full-time and renovated on weeknights/weekends. We completed all landscaping on site as well as things such as internal painting, replacing all the skirting boards, internal demolition etc.
As the property also had Council requirements (due to us subdividing), the project ended up taking approximately 12 months to complete (some of which we were in lockdown for).
LET’S TAKE A LOOK AT YOUR AMAZING TRANSFORMATION…


WHAT MADE YOU JOIN RENO SCHOOL?
We had a solid understanding of the building/architectural side of things but lacked an understanding of design and how to create a cohesive space, especially considering we wanted to create a high-end finish on a budget.
We signed up for the Reno School, purely for tips on where to purchase essential elements that would tie the space together. For example, our French doors, VJ internal doors, white painted fireplace, white sink, doorknobs, built-in robes etc. were all sourced through Reno School.
What is the BEST thing you learnt from Reno School?
The idea of where to spend and where to save! This was something that we never had the understanding of until after we completed the Reno School. Using a flat-pack kitchen with 20mm stone was not something we would’ve considered until we saw examples of what could be done in Reno School. By using a higher-end stone, upgraded door hardware, subway tiles and a white sink, our space ended up feeling a lot more expensive than what we ended up spending.

SO, WHERE DID YOU SAVE & SPLURGE?
Here’s a breakdown of where we splurged and saved:
SAVE $$$
• Kitchen cabinetry - the flat-pack was $5070, installed! We went through a kitchen cabinetry company that had its own flat-pack designs! I wanted to avoid an IKEA/Bunnings kitchen - this ended up being great.
• Appliances - everything purchased was ex-display/discontinued! This saved us A LOT of money! Here are some savings for you!
- White granite sink - more than 50% off
- Black tap - more than 50% off
- Oven, cooktop, range hood - approx 35% off
- Lights above island bench - 65% off
Overall, this saved us a lot of money!
• Kitchen splash back - Marketplace was great for tiles etc! Ended up costing $50 for tiles worth over $300! We also saved when laying the tiles by laying them vertically instead of doing them in a herringbone pattern.
• Kitchen knobs - IKEA - $6 for 2 knobs! (Bargain) They look great and feel expensive! I got this idea from a flip Thee Birds did!
SPLURGE $$$
• Stone Benchtops - $2100 - this was a splurge, although I saved by going 20mm rather than 40mm. I also called up 6 suppliers for the same stone and found that there was a $300 difference between different companies. I went for a higher grade stone rather than the “basic or mid-range” as I knew it would make a huge difference to the overall look of the kitchen! This made the kitchen come to life!
• Shaker cabinetry - the profile was more expensive than a flat door, but we could justify the extra cost when we saved by using a flat-pack kitchen!
Hopefully, this helps someone else save some cash $$$ too!
What did you LOVE most about the course?
The community Facebook page!! To be able to get multiple answers (sometimes over 100) when you’re indecisive was a massive help. From how to lay tiles to choosing a pendant light, the Facebook page helped us through it all! The ideas, knowledge and assistance you receive are priceless.
DO YOU HAVE A TIP FOR FIRST-TIME FLIPPERS?
Although flipping appears to be a somewhat easy project, it is HARD! Physically, mentally and financially – be prepared, renovating is not for everyone.
WHERE CAN WE FOLLOW YOU?
@vstassinis.realestateandreno

IS YOUR HOUSE RIPE FOR A RENO? DON’T START WITHOUT DOING RENO SCHOOL!
If you’re thinking of renovating your own home or perhaps taking the leap on your first (or fifth!) flip, now’s the time to join Victor and over 25,000 members from over 60 different countries in our exclusive Three Birds Reno School community, you’ll be sure to get all the support you need for your own project.
Make sure you’re on the waitlist to be the first to hear when it’s time to join and you’ll get access to our best discount and special waitlist offer.