
A BEGINNER'S GUIDE TO RENOVATING YOUR KITCHEN

If there’s only one room on your renovation radar make it your kitchen! You’ve probably heard the expression “kitchens sell houses” so whether you’re renovating for profit or for your own family to live in and love, a kitchen reno can be a golden opportunity to add some serious value to your home.
That said, kitchens are one of the most expensive rooms to renovate. Cabinetry can cost a bomb and appliances aren’t cheap either but it’s an investment in a space that will become much more than just where food is prepared - we think the kitchen is the heart of the home.

If you’re considering renovating your kitchen, here’s our Beginner’s Guide to Getting Started:
1) START WITH A VISION BOARD
Creating a concise vision of how you want your home to look AND feel is super-duper important when it comes to renovating and nailing your vision board should always be the first step of any project. We know it’s tempting to jump right in and start making decisions straight away but our best advice is to back up the truck and don’t start moving again until your vision board is done and dusted. Trust us, you’ll thank us later!

Reno School Student Bianca Mulligan’s Vision Board

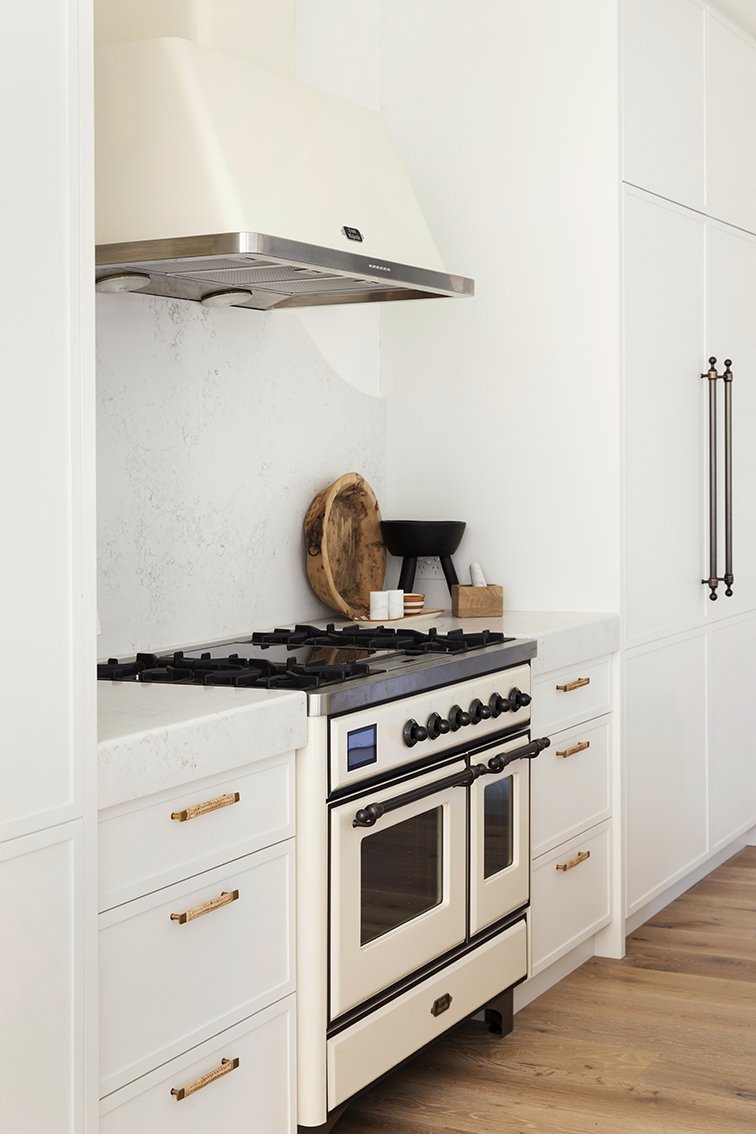
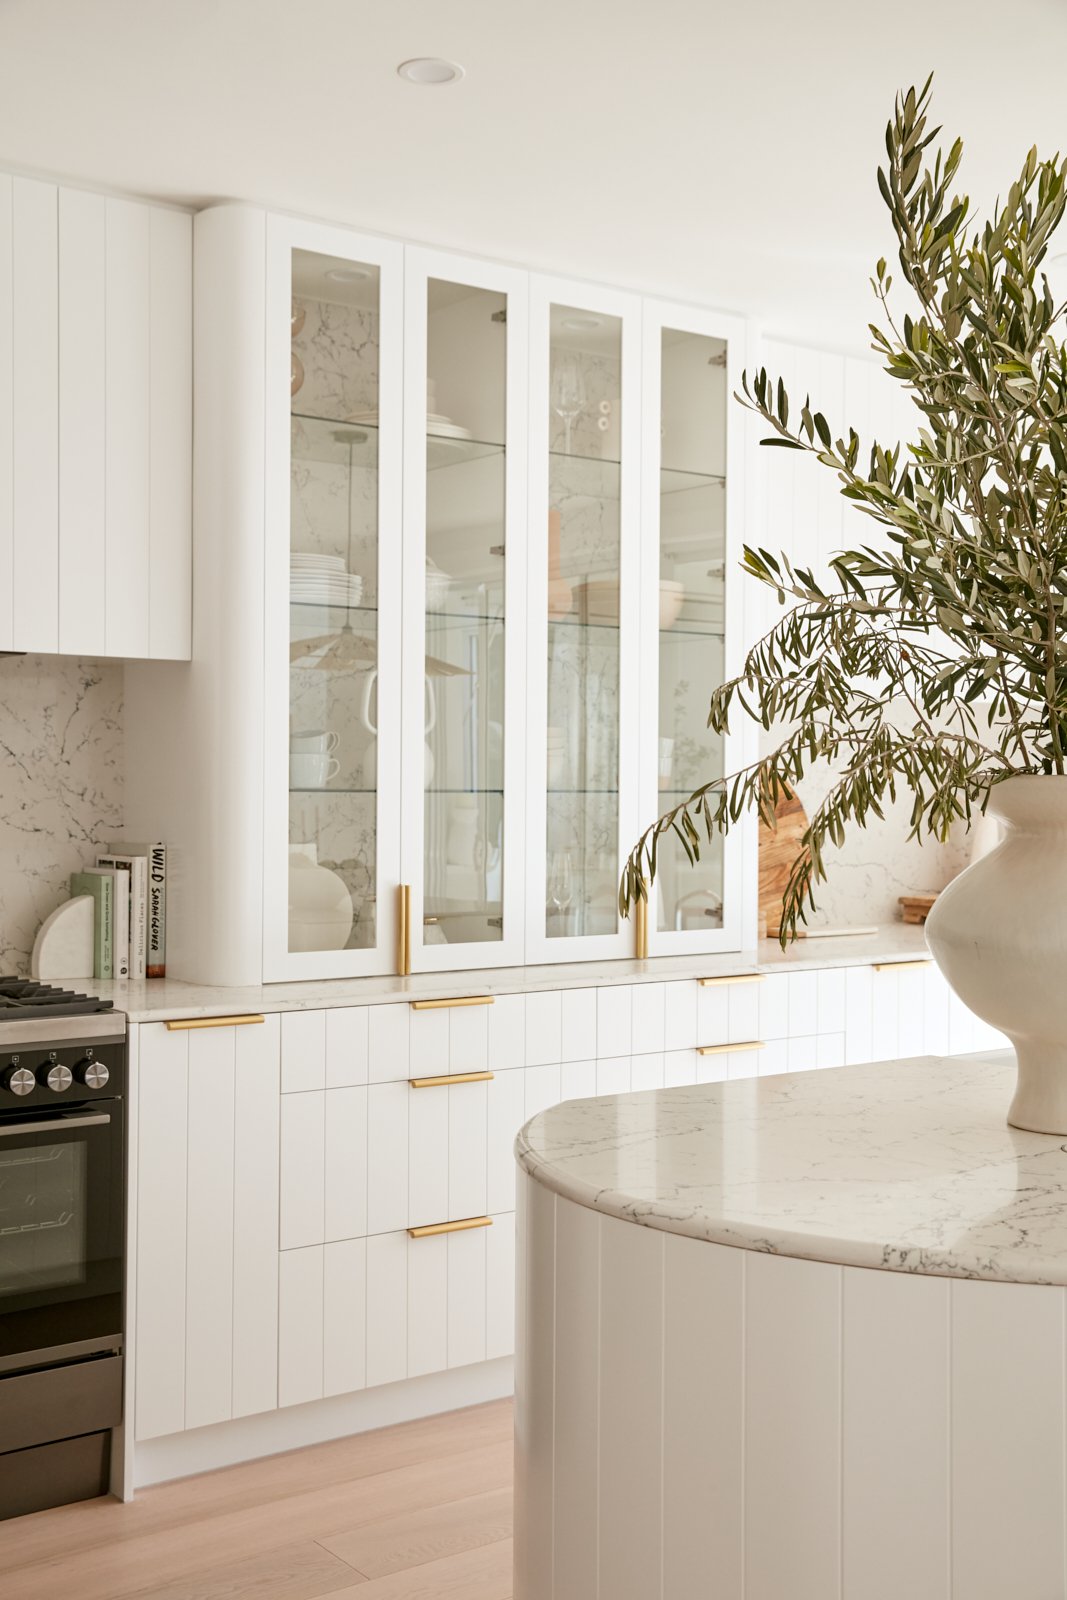
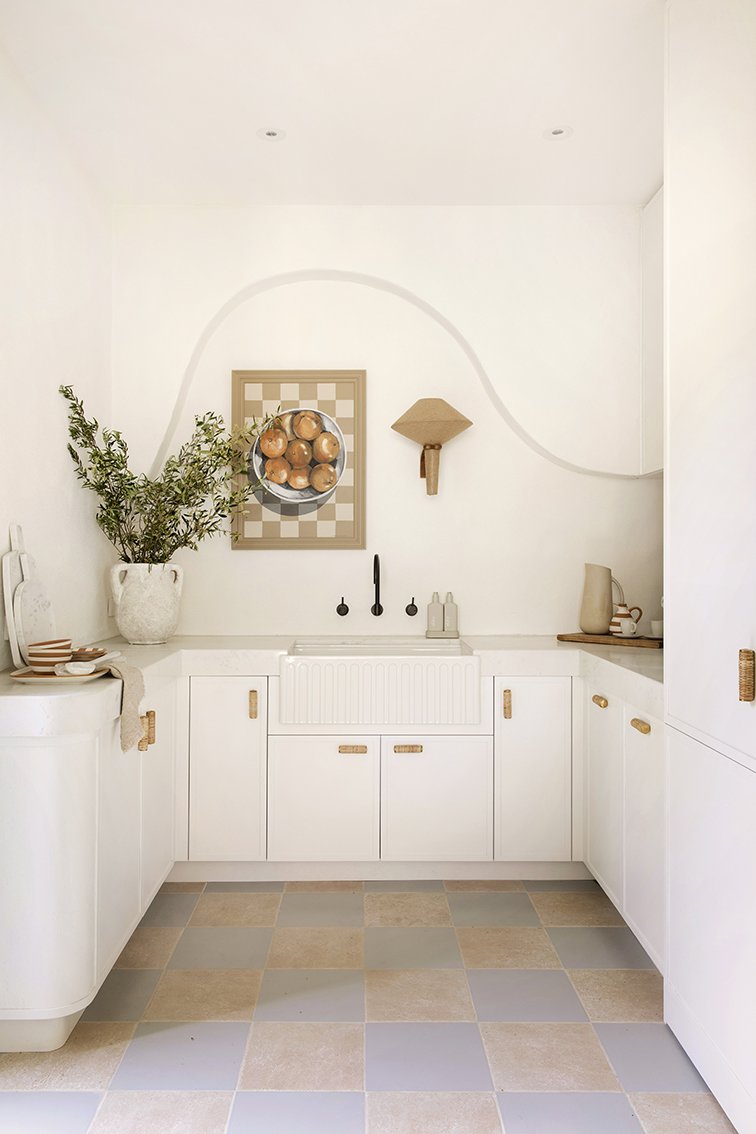
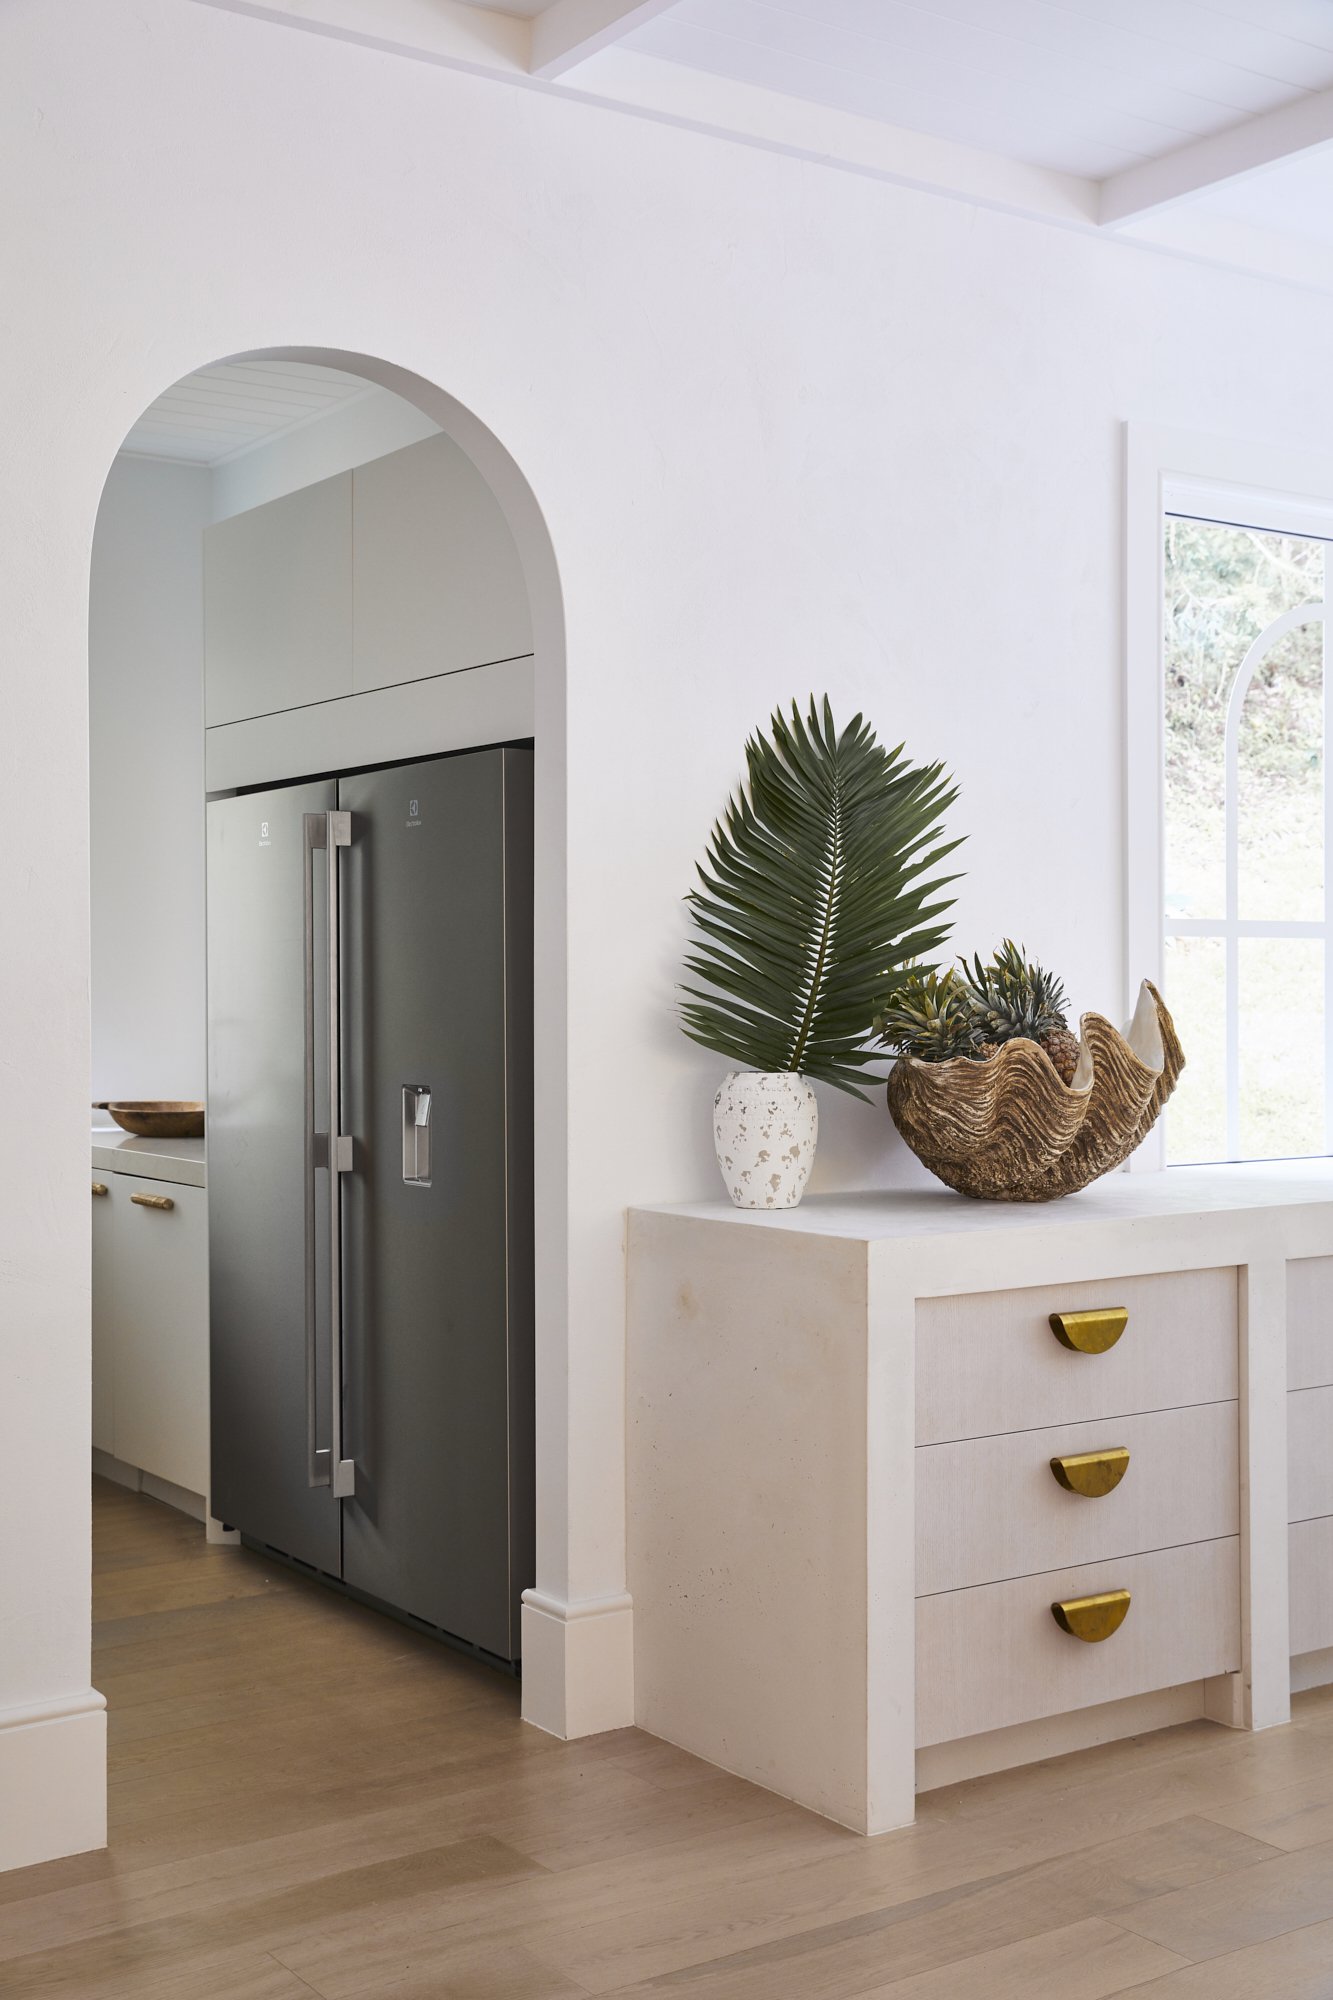
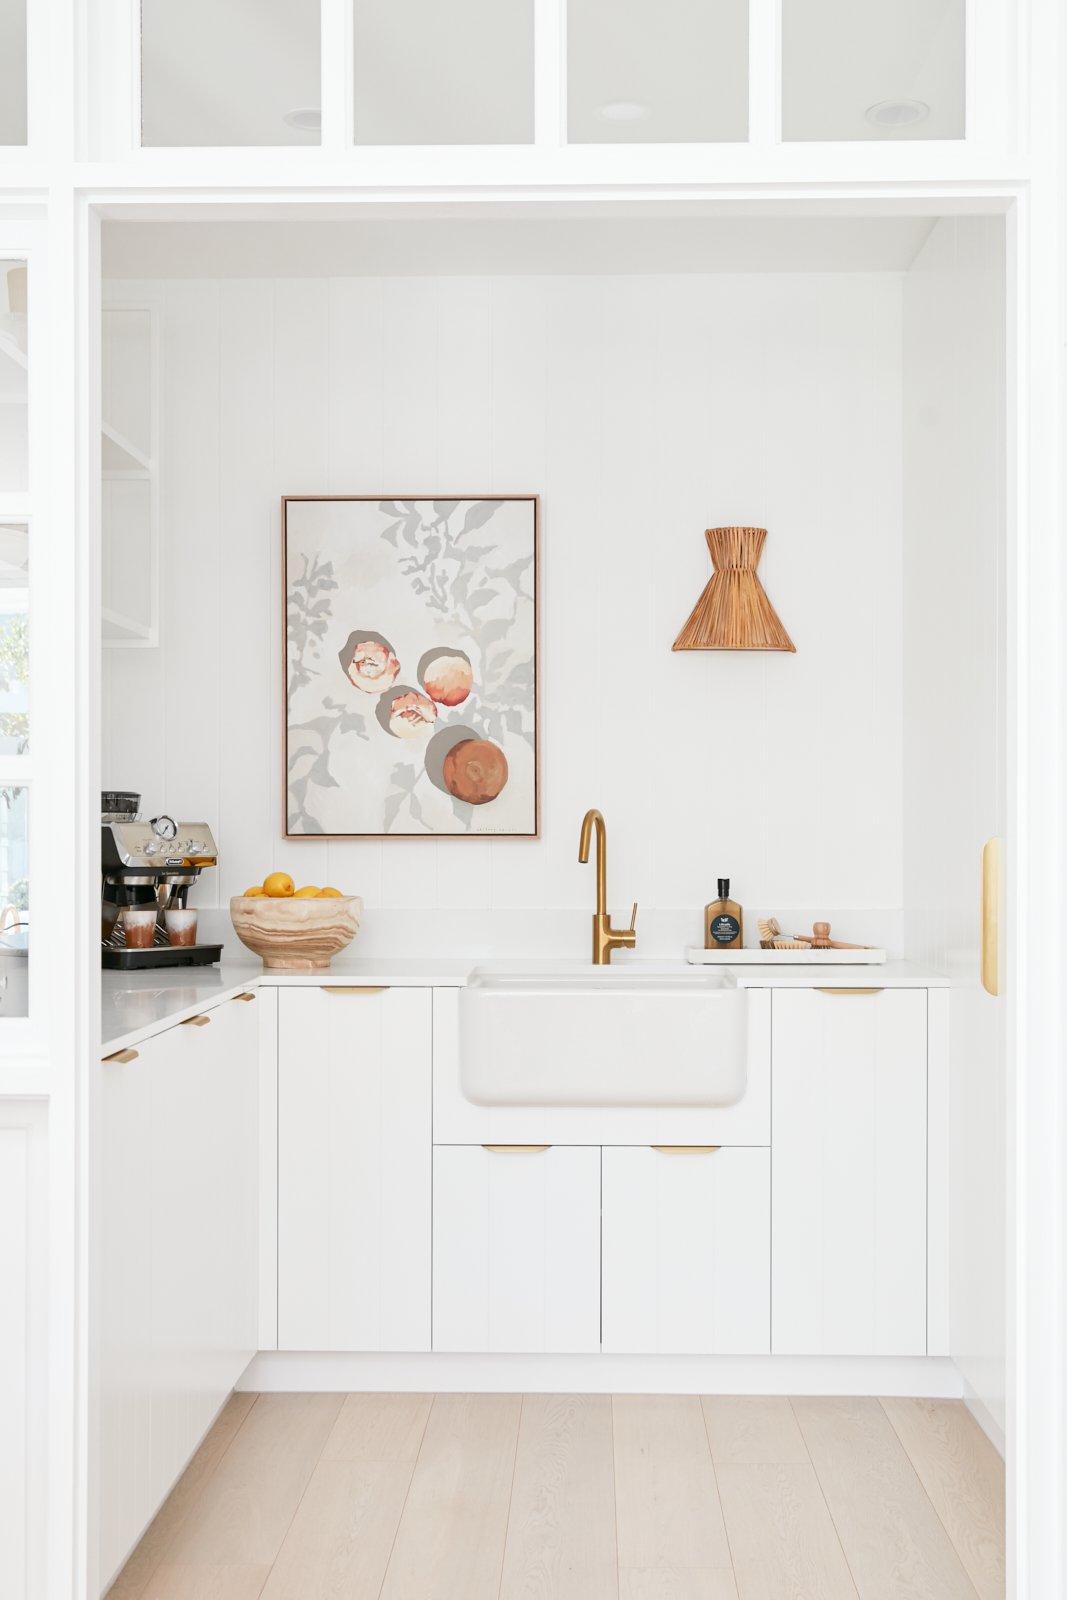
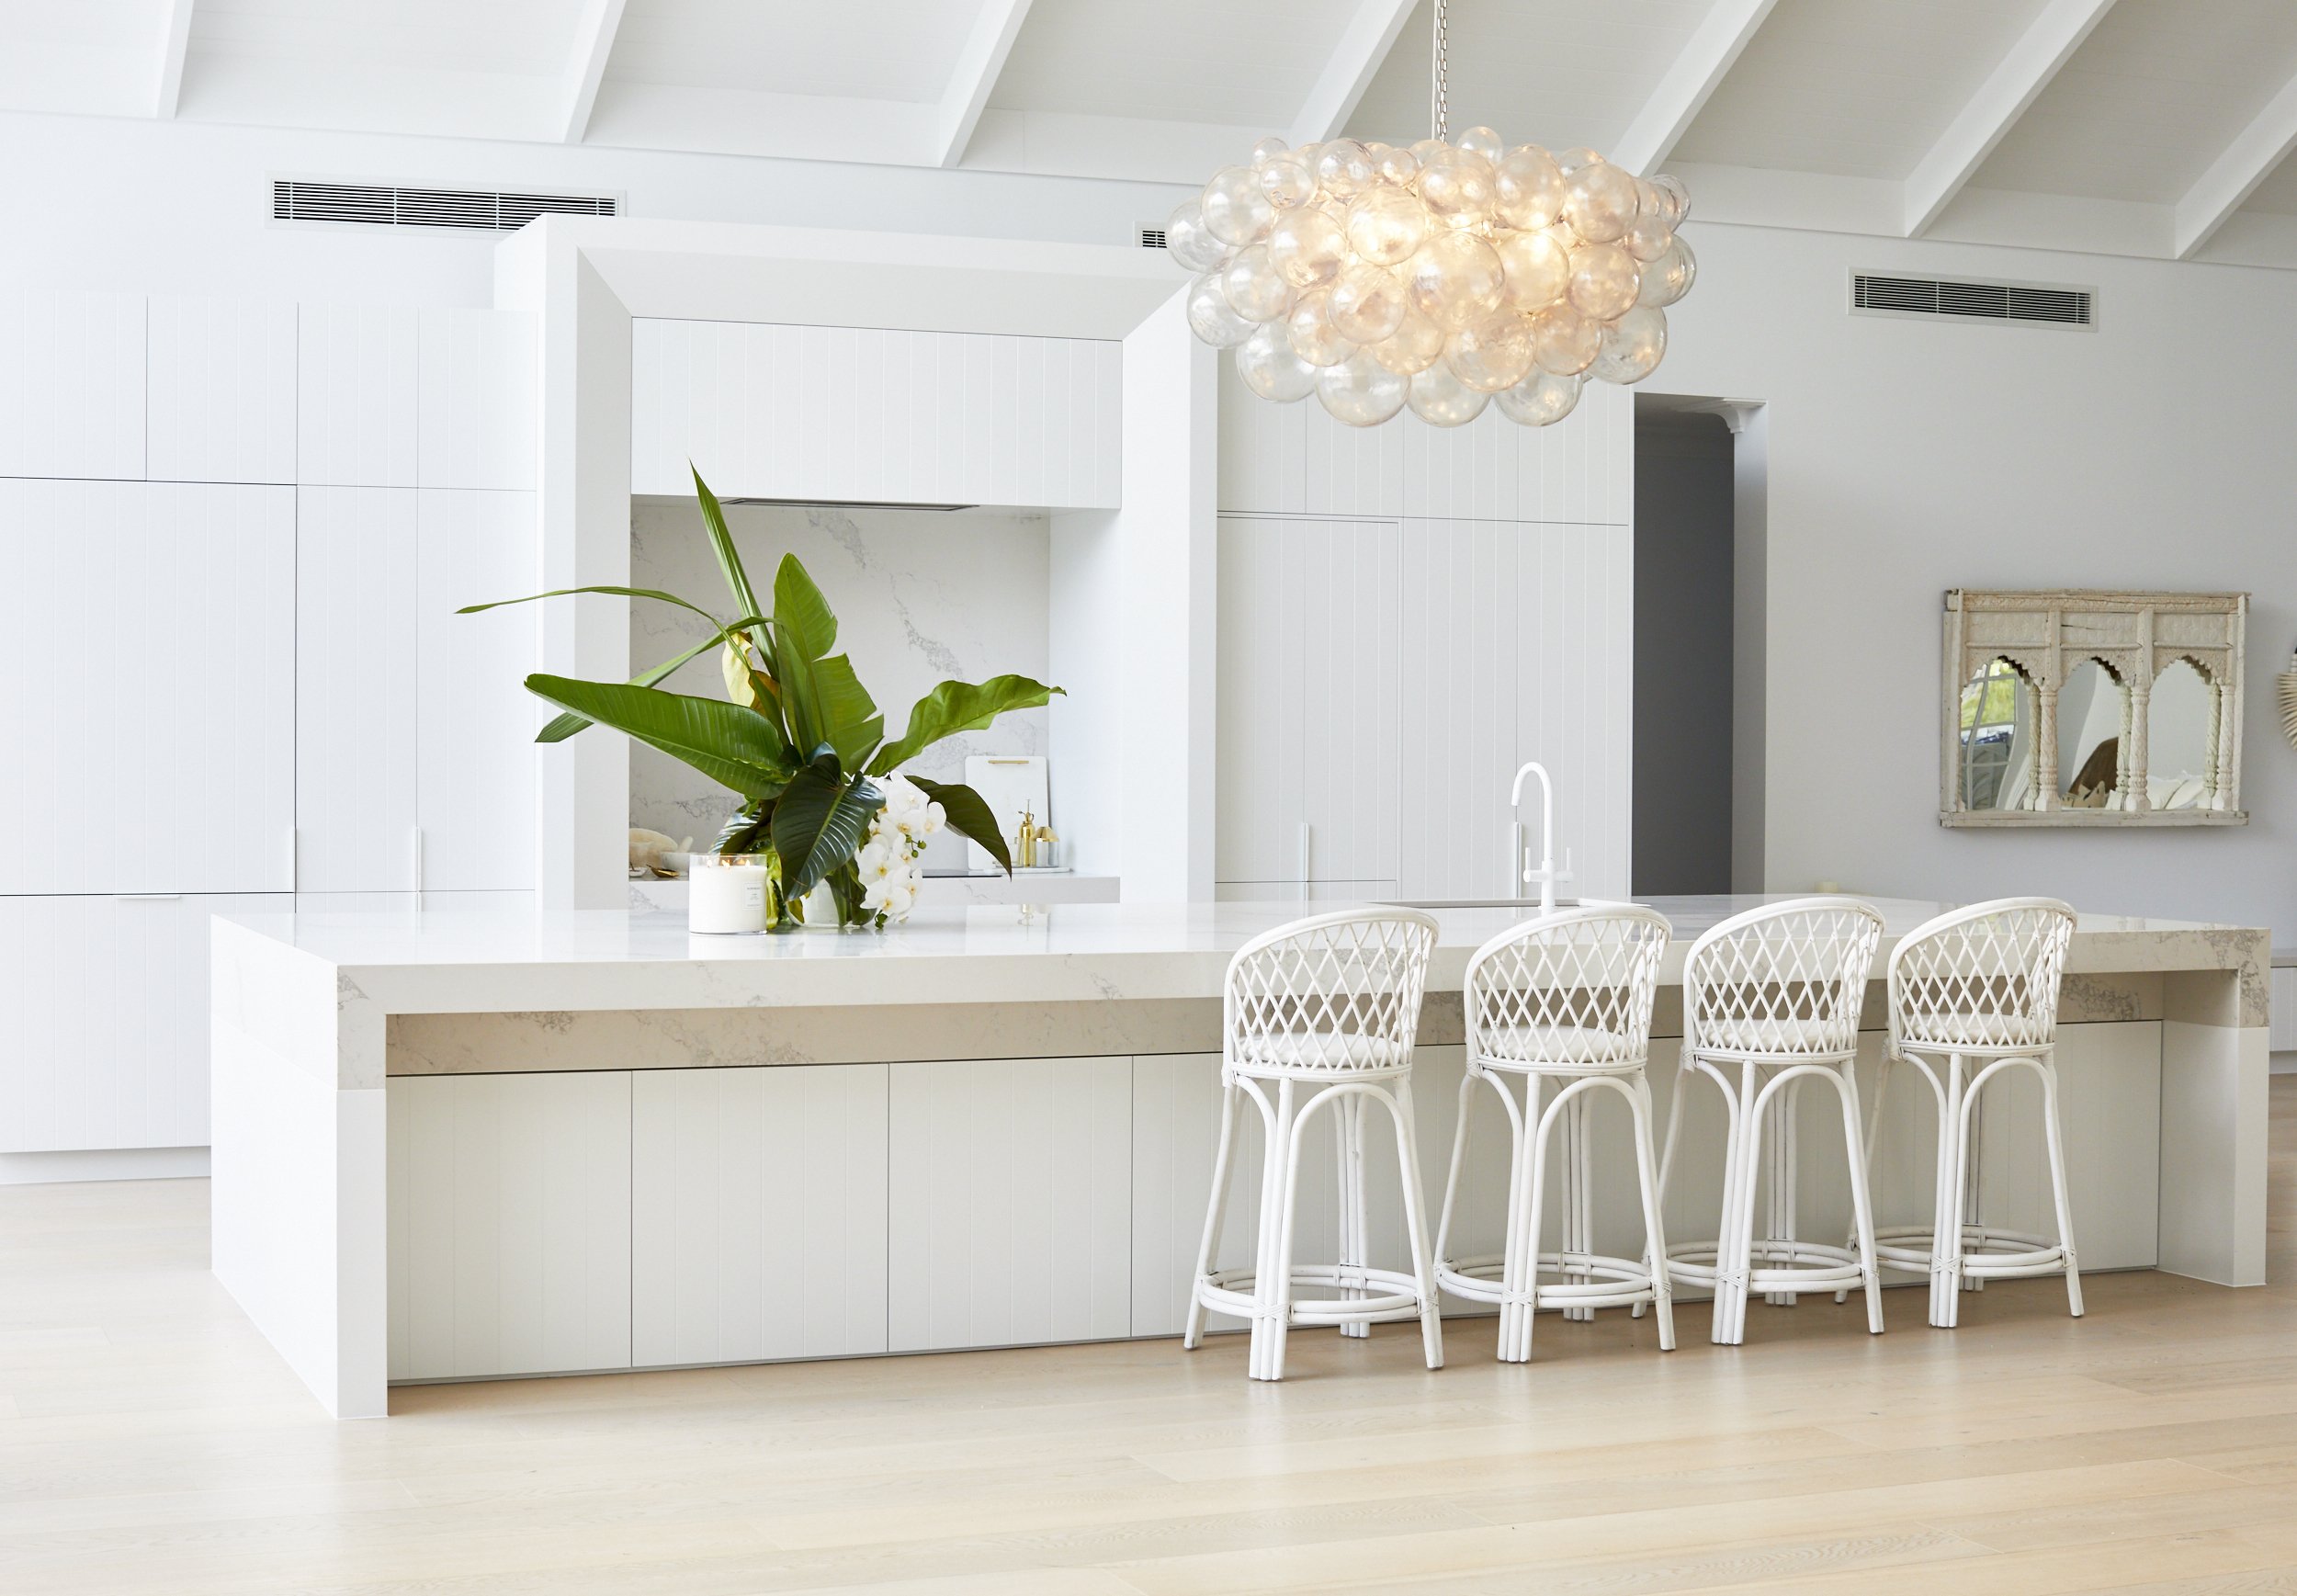
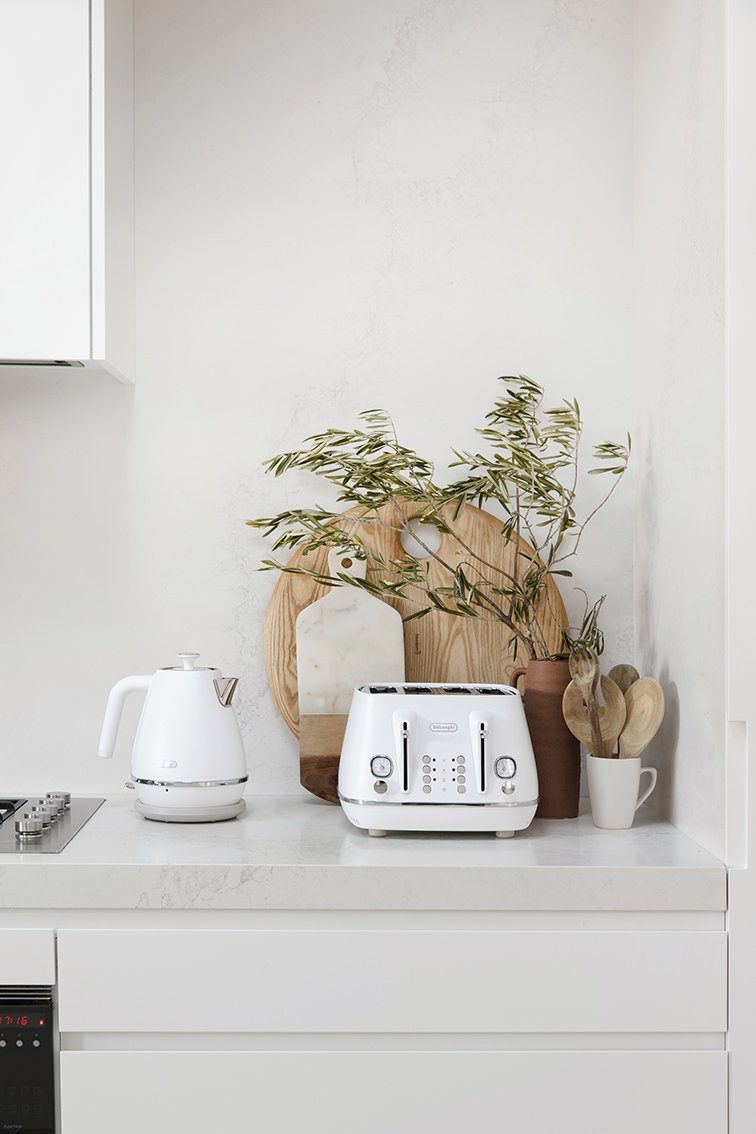
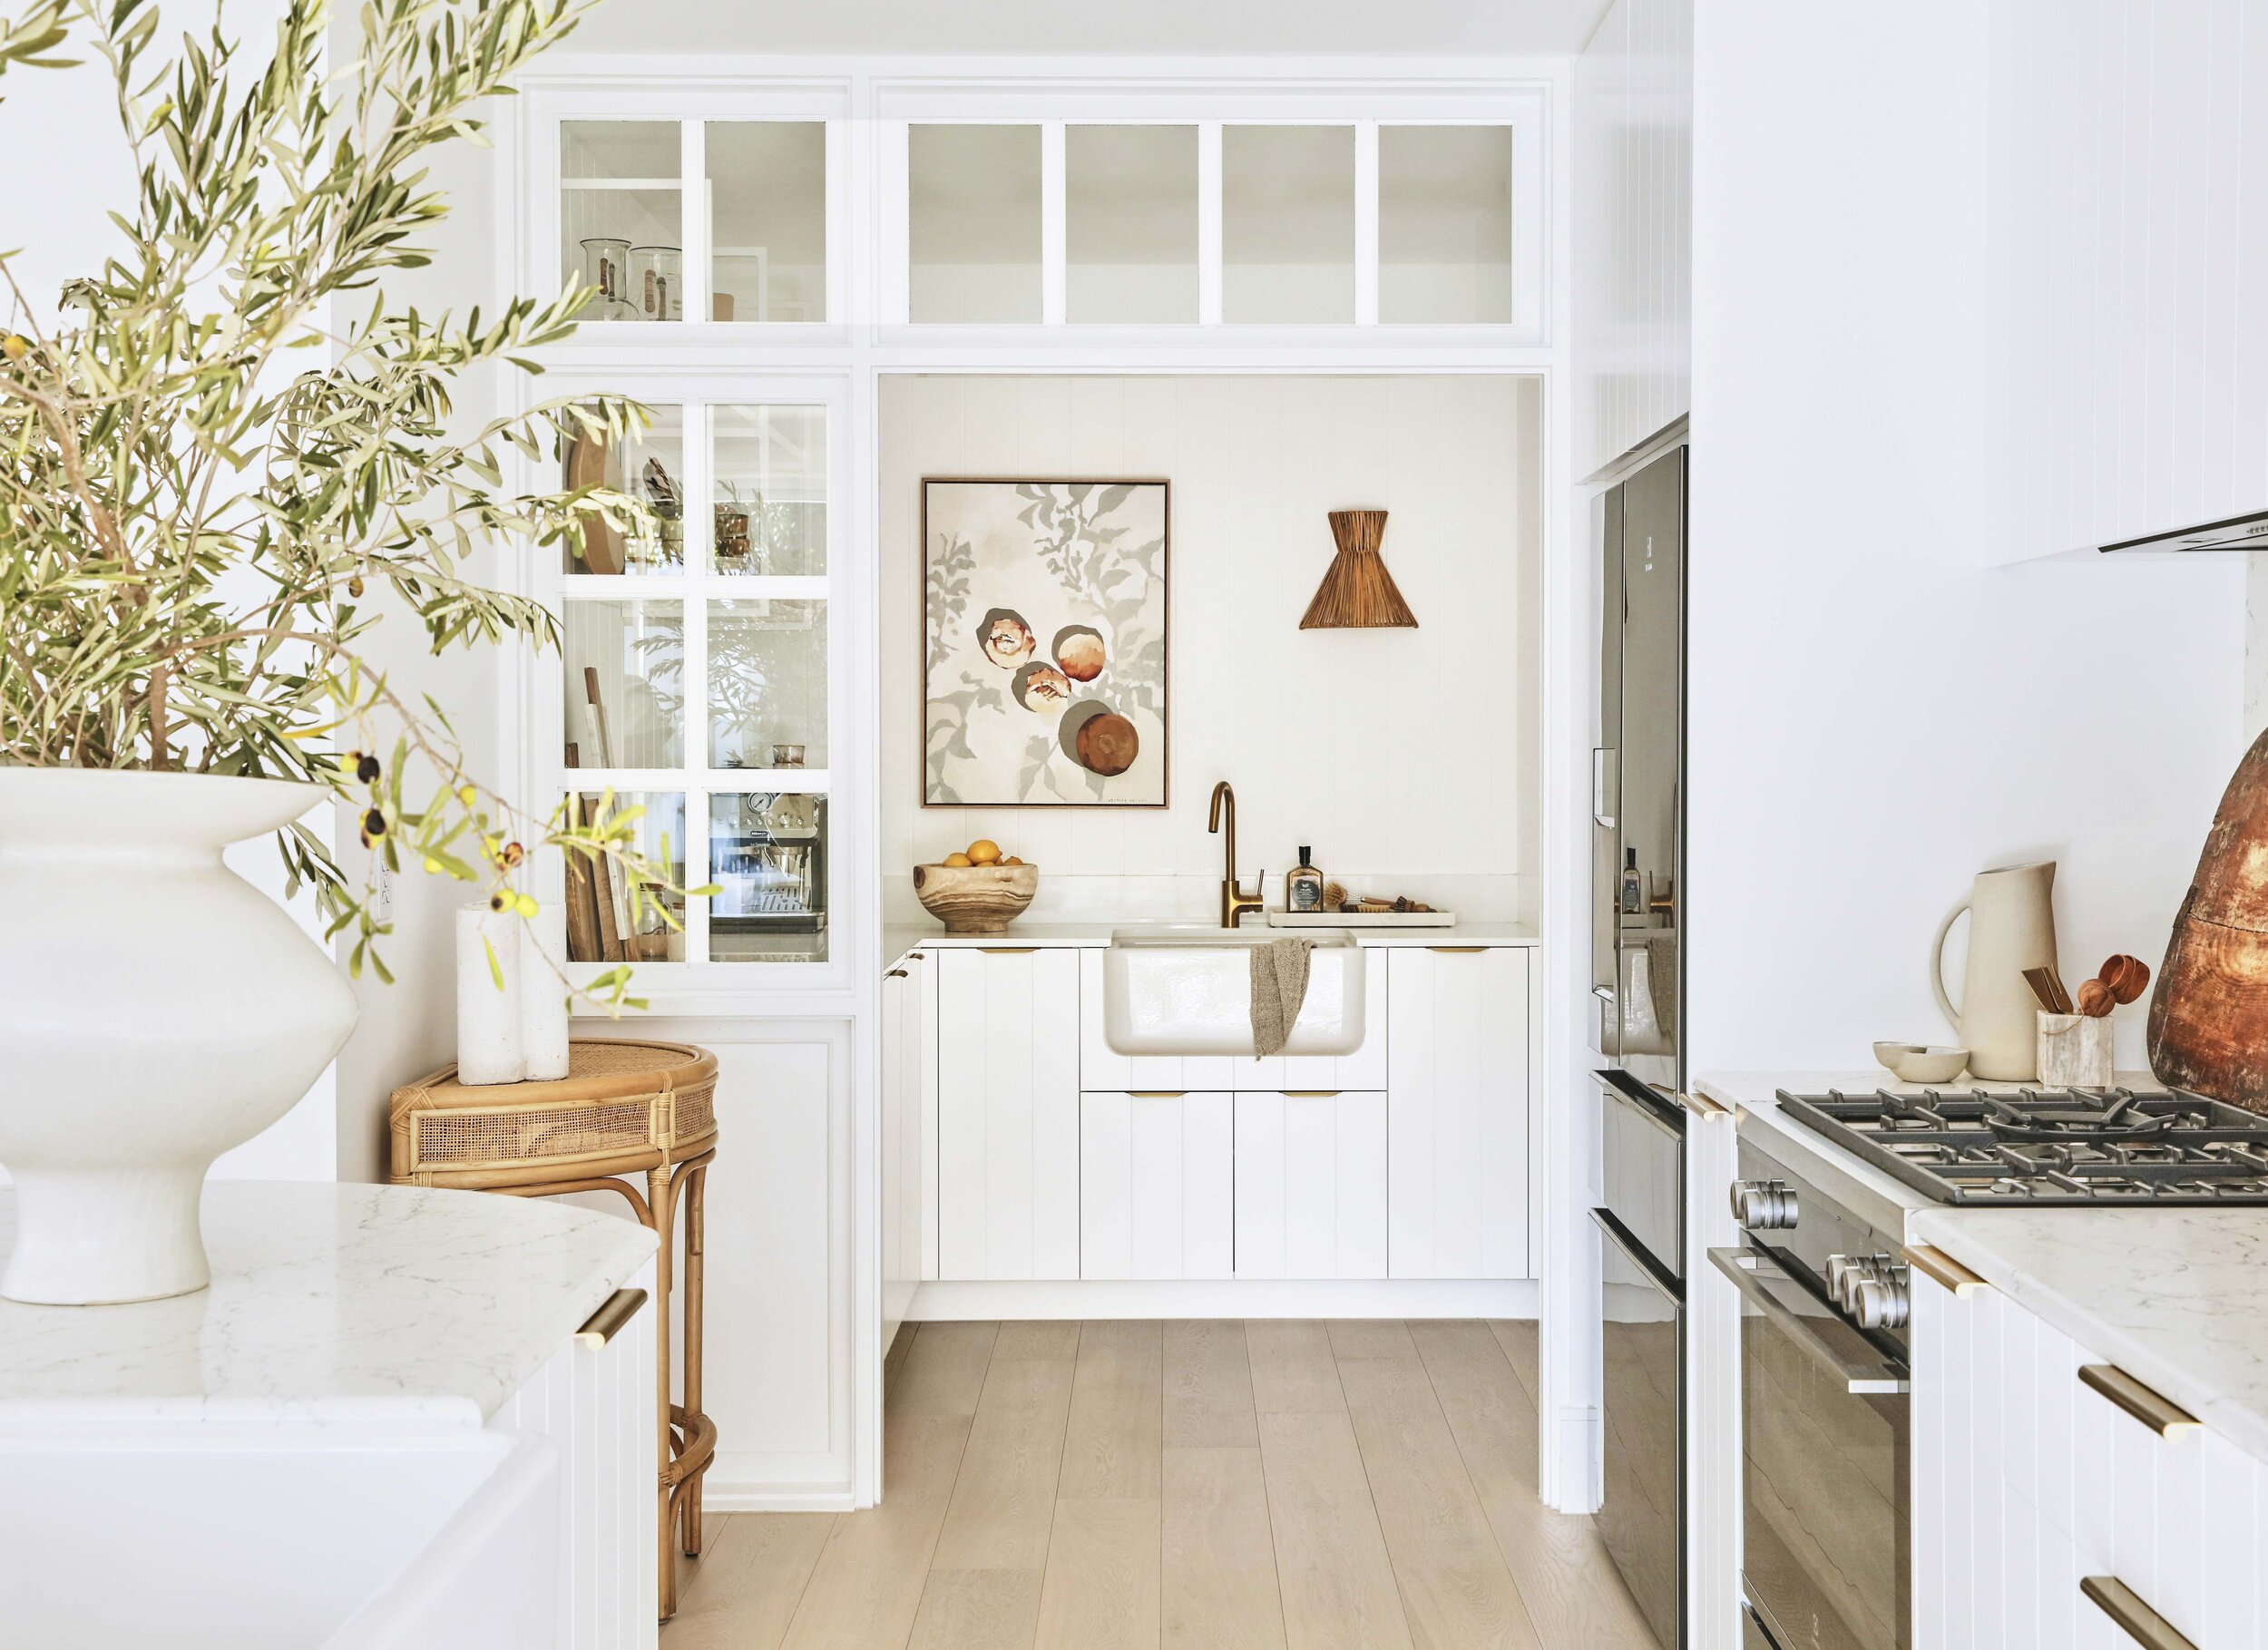
Bianca’s Casa Blanca Kitchen
2) WHAT DO YOU WANT FROM YOUR KITCHEN?
Now it’s time to ask yourself exactly what you want from this room. In Three Birds Reno School, we ask our students to answer 20 questions about how they plan to use the space. Things like:
Who uses the kitchen and what do they do there?
Are you a MasterChef or a ReluctantChef?
Do you think your kitchen needs to be bigger? Will you need to move walls to change this?
Do your kids do homework in the kitchen… or would you like them to in future?
Get the picture? Make sure you’re really clear about the purpose of this room, remembering that different families have different requirements. There’s no ‘one-size-fits-all’ when it comes to kitchens!

3) MUST-HAVES VS. NICE-TO-HAVES
Without even knowing how you answered the questions above, from our experience, we know with certainty: that you can’t have it all. Boo! Sorry to be the bearers of bad news.
Perhaps you don’t have the space, or the aspect, or the outlook or the money … whatever your situation, there will be something that prevents you from ticking off everything on your wish list. So, let’s call that out up front and start to build a list of must-haves versus nice-to-haves so you can refer back to it when push comes to shove.
Grab a piece of paper, draw a vertical line down the middle and start writing your two lists in the columns. This might be a work in progress that you keep coming back to over time.

4) HOW IT LOOKS & HOW IT WORKS
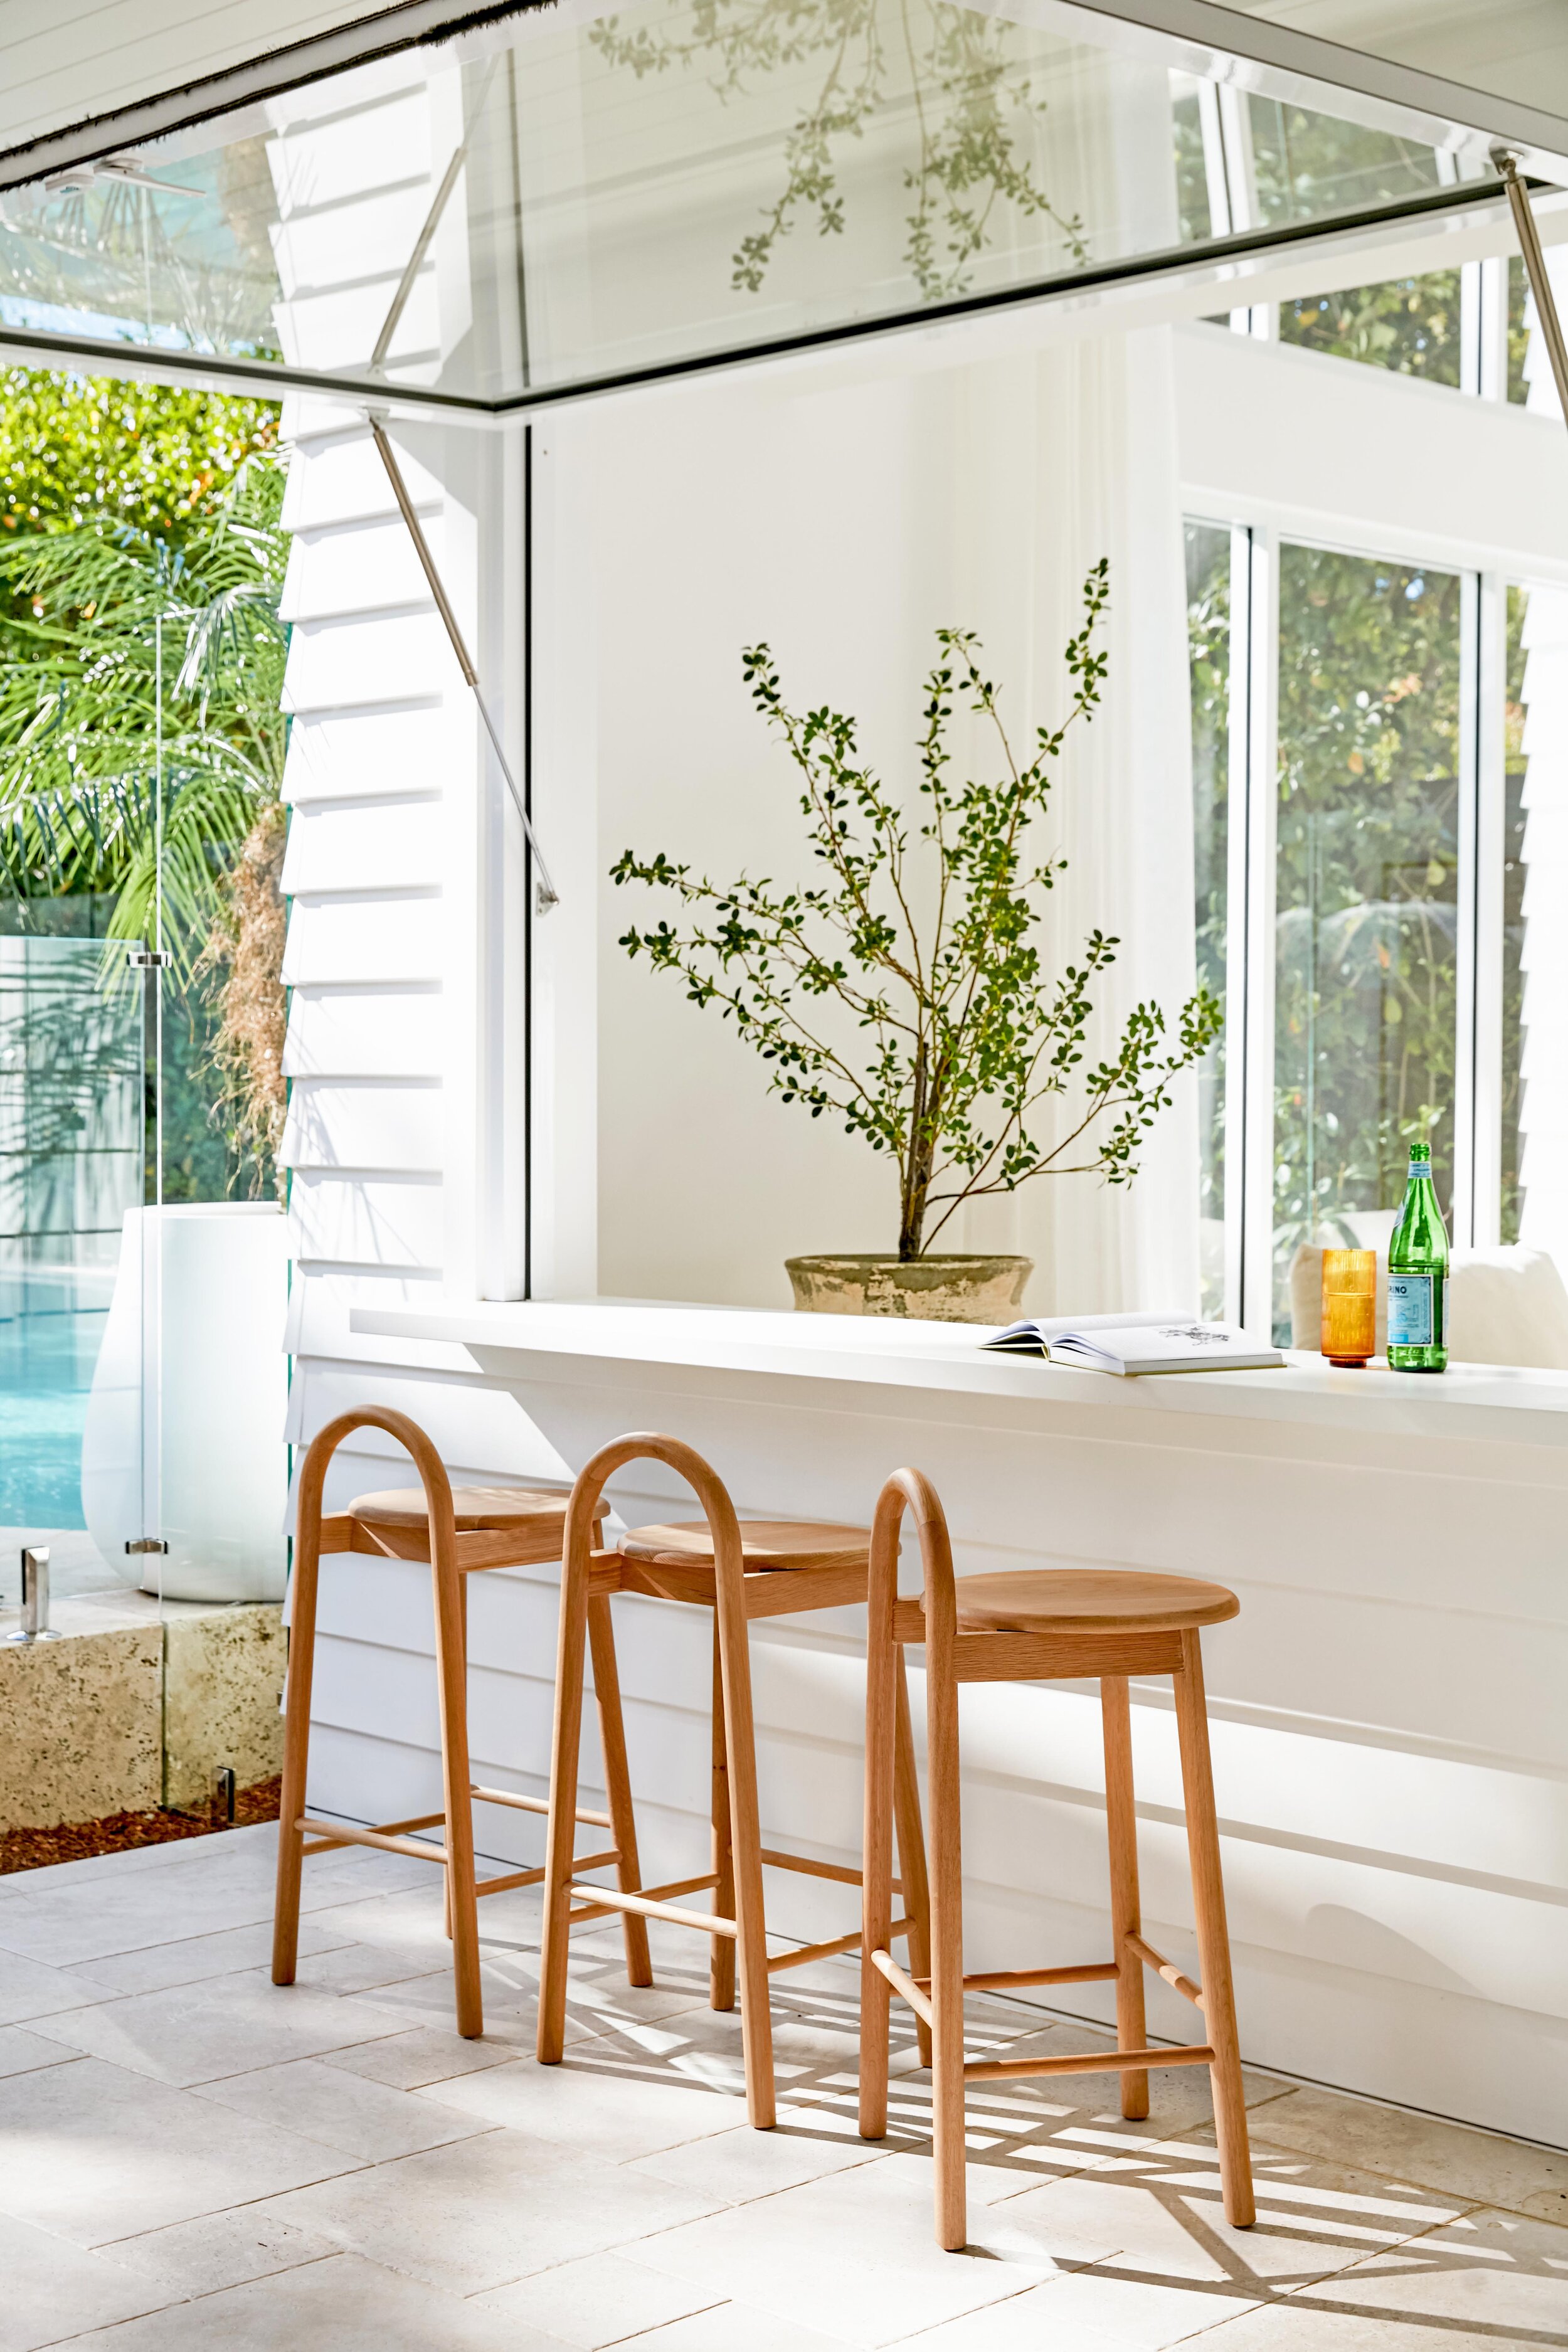
How do you want your kitchen to look? And how do you want it to work? During the design process, you’ll need to toggle between these two things constantly. You should have a pretty good idea of what you want your kitchen to look like by now, given you’ve completed your vision board, so let’s start with how you want your kitchen to work (or function). Which layout is best? What are the key dimensions? Which types of storage do you need? Shelves or drawers? Where will the appliances be located? How much task lighting do you need? Do you want a butler’s pantry? Is there space for a servery with a gas-strut window?
5) A BRIEF OVERVIEW OF THE PROCESS
Once you’ve nailed the steps above, you’re ready for action! It’s time to decide whether to engage a builder, a specialist kitchen company or if you’re going to DIY and appoint the specialist trades yourself, as you need them.
Phase 1: Plan your kitchen
Here’s the fun part! With your vision board and list of must-haves from above in hand, it’s time to confirm the exact location of your future kitchen in your house (if you’re changing where it is or the size) then sketch out some potential layouts.
You can select your appliances but don’t buy them yet, just decide on the ones you want so you have their exact dimensions and details. Make a list of the materials, fixtures and fittings you want to use in your kitchen, including colours, cabinetry, handles, benchtop, splashback, sink, tap etc. Collect images for each of them and keep them handy as they’ll form part of the brief to your builder, kitchen company or be used for your own reference if you’re going DIY. Draw a draft lighting and electrical plan.


Phase 2: Finalise your design
Now it’s time to decide between flat-pack or custom cabinetry. Even if you have your heart set on a custom kitchen, it is definitely worth comparing the costs of a flat-pack kitchen (either DIY or one installed by a carpenter) versus a bespoke kitchen (using a cabinet maker).
A professionally installed well-chosen flat-pack kitchen that’s finished with nice hardware and surrounded by other beautiful touches can look just as good as a custom kitchen. Then get some quotes for your dream kitchen. When preparing the brief for your builder, carpenter or cabinet-maker, remember to include the tasks you’re planning to organise yourself (e.g. the plumber and painter) so they can exclude those jobs from their quote accordingly. And get more than one quote so you can compare. If you are still tossing up between the options, check in on your budget now that you have quotes and decide which way you want to go.
Review and refine your drawings several times until you are satisfied they are millimetre perfect. If using a cabinet maker, their final design should also list every fixture and fitting you intend to use including cabinet colour, door profile, handles, sink, tap, tiles, and benchtop.
Discuss with your carpenter or cabinet-maker who is buying what. Theoretically, it should be cheaper for you to shop around and purchase sinks, taps, appliances and benchtops yourself (especially if you’re a Reno Schooler with access to our exclusive offers!), but your cabinet-maker might get some great trade discounts, so talk about this with them first before deciding who buys what.
Hold off on purchasing most items until you have approval on your reno – just in case you need to change your design.
Phase 3: Get approval
Your new kitchen plans may require approval, your builder and kitchen company can help guide you with this. Or if you’re DIYing, check in with your local Council or trade bodies for requirements.
Once you’ve got the tick of approval, go ahead and purchase your appliances.


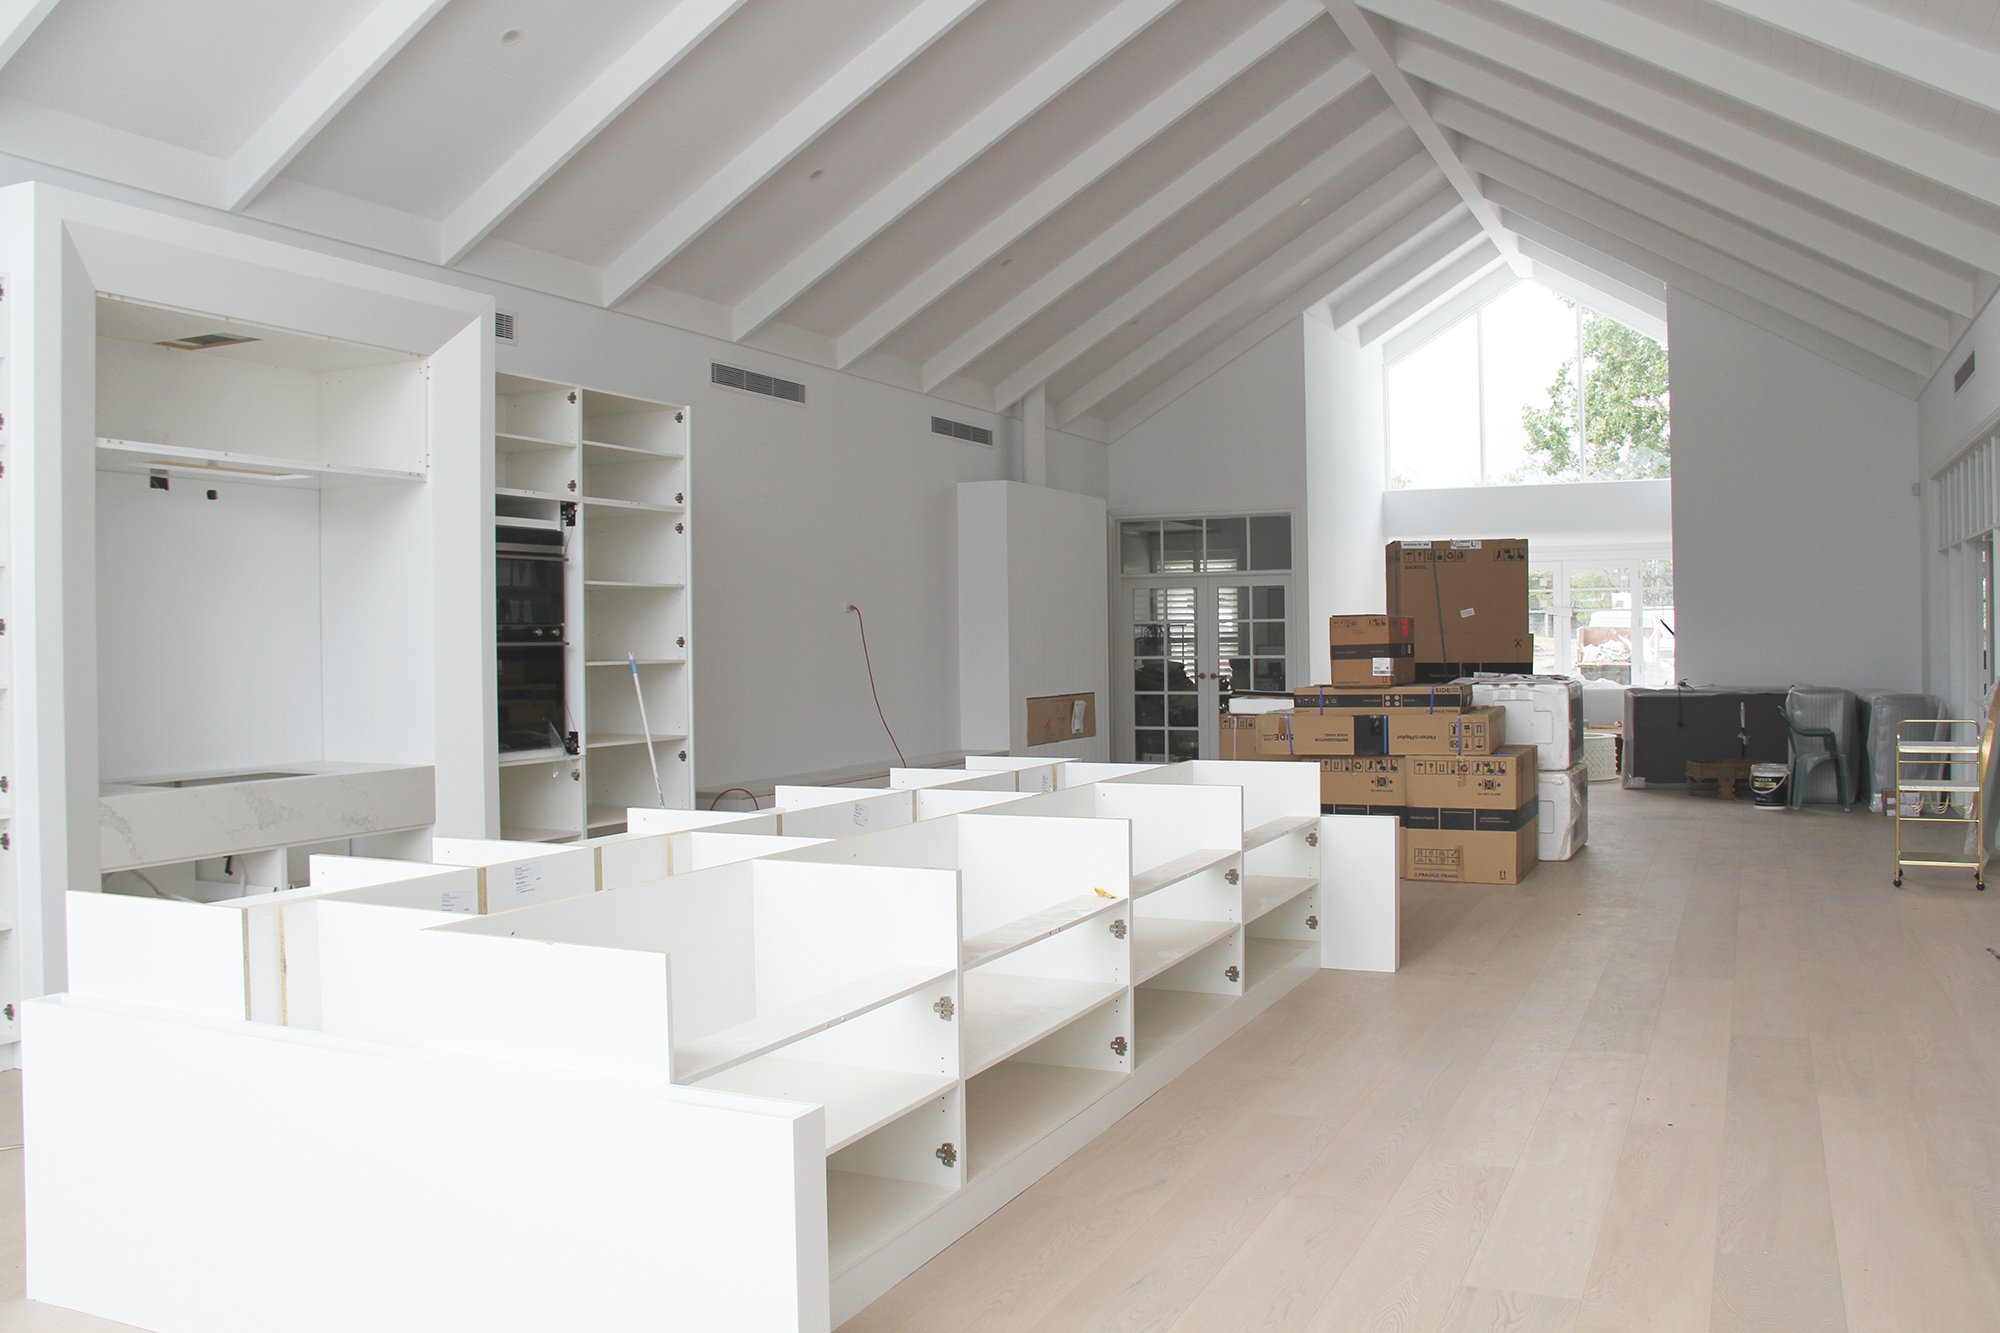
Phase 4: Renovate
There’s no going back now! It’s time to demolish your old kitchen (you might be surprised by how much you can sell an old kitchen for on Facebook Marketplace, so try to get it out intact if it’s worth reselling!) and jump fully into the renovation process.
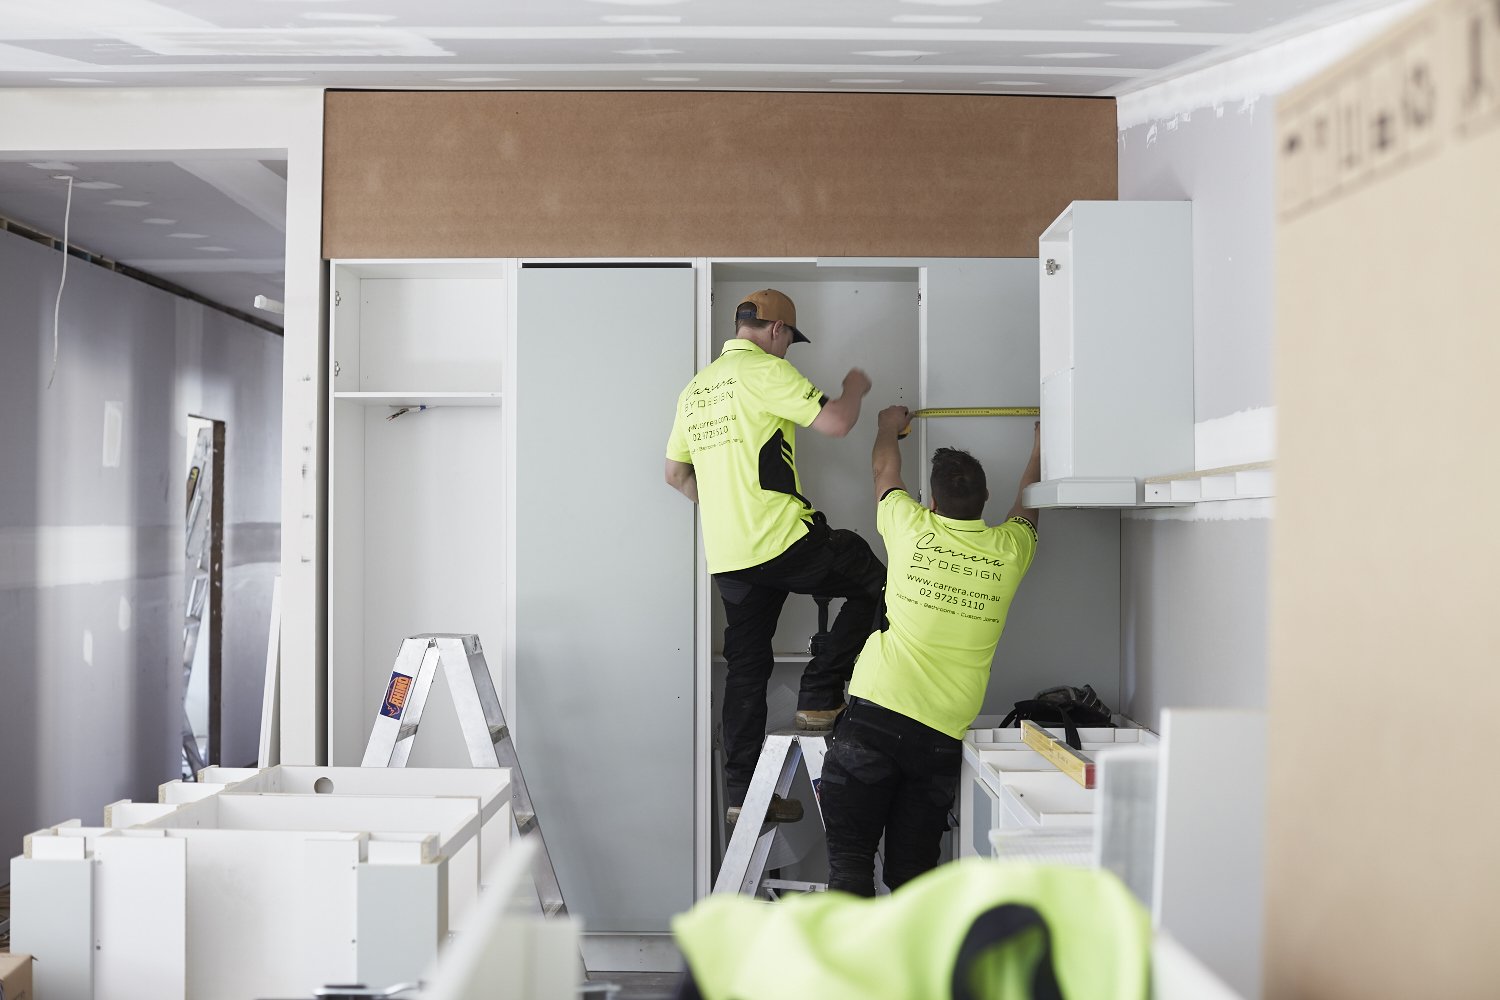
Your home may feel a bit like Central Station for a few weeks with a constant stream of tradies, including builders, cabinetmakers, flooring installers, stonemasons, electricians, plumbers, tilers… the list goes on!

Phase 5: Style & enjoy!
Once it’s all finished, don’t forget to ask your plumber and electrician for certificates certifying their work and then file these safely away with any warranties and instruction booklets that came with your new appliances. Then it’s time for your new kitchen to have its first clean. We recommend you bring in professional cleaners for this as they know how best to remove all the various types of construction messes, but you can give it a go yourself to save some money.
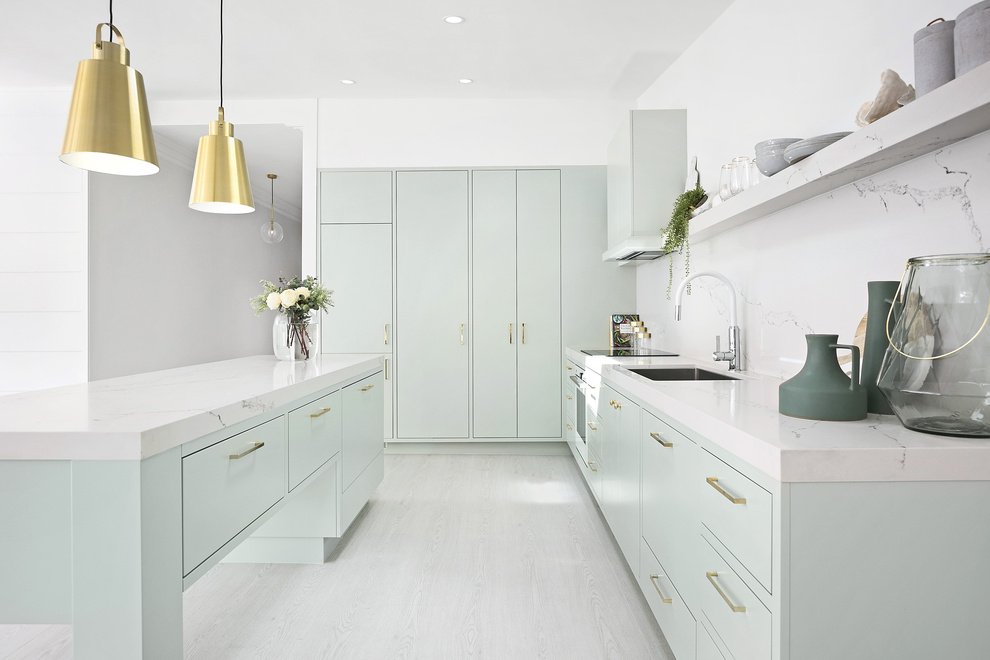
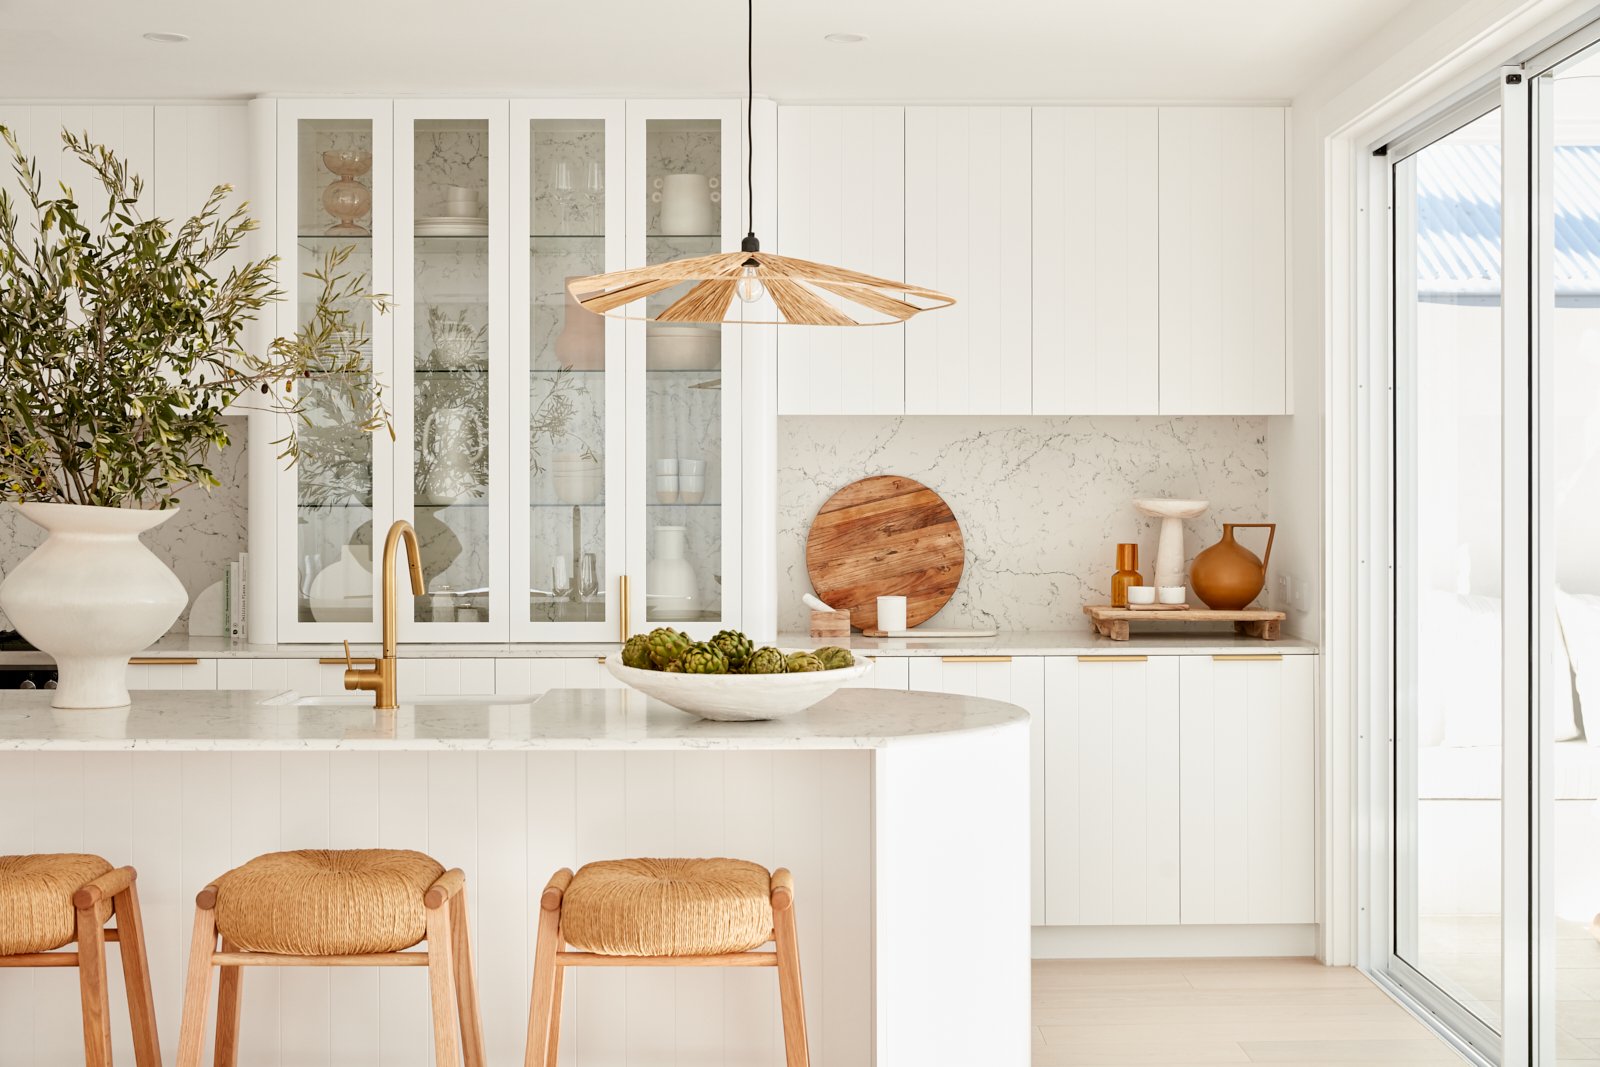
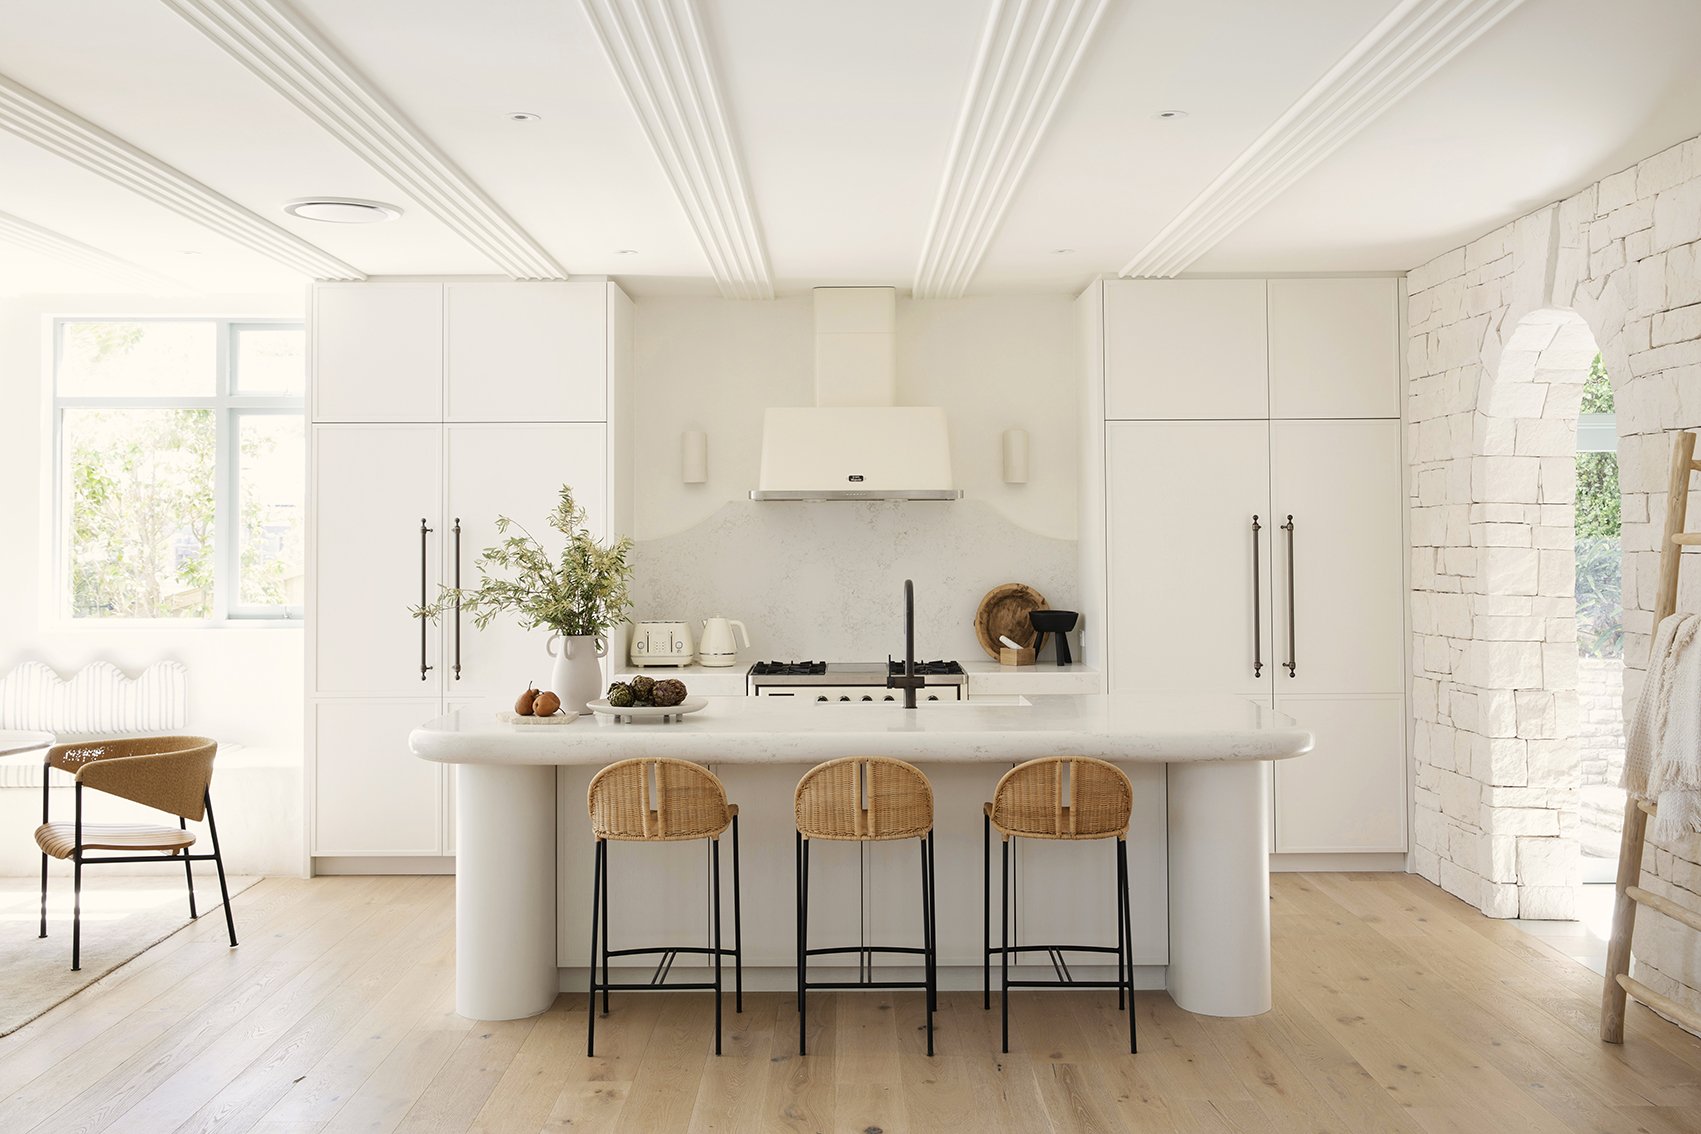
Now it’s time to style your new kitchen and enjoy it every single day!
If you’d like to learn more, we can teach you in our online course, Three Birds Reno School. It’s the ultimate course for anyone wanting to renovate or build their dream home. Over 6 modules, we deep dive into kitchens, and every other room of the house, to give you all the guidance, advice, ideas, and confidence you need to achieve your dream home.
JOIN THE WAITLIST TO HEAR WHEN ENROLMENT OPENS, AND YOU’LL GET ACCESS TO OUR BEST DISCOUNT AND SPECIAL BONUS.
